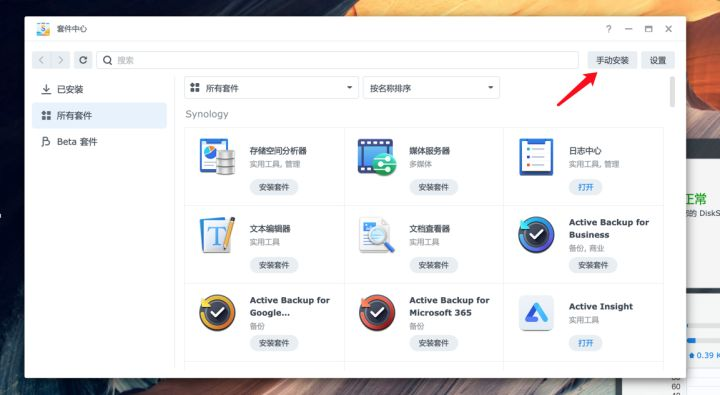
跨平台Markdown写作软件:小书匠
什么是小书匠 ? 小书匠是一款本地优先,去中心化,分布式,支持选择性同步的全平台覆盖笔记软件,是专注于 markdown 写作的客户端编辑器。它支持多种平台,包括 Windows、Mac、Linux 和 Android,并且还提供了 Docker 自部署版本,方便用户在自己的服务器上部署和管理。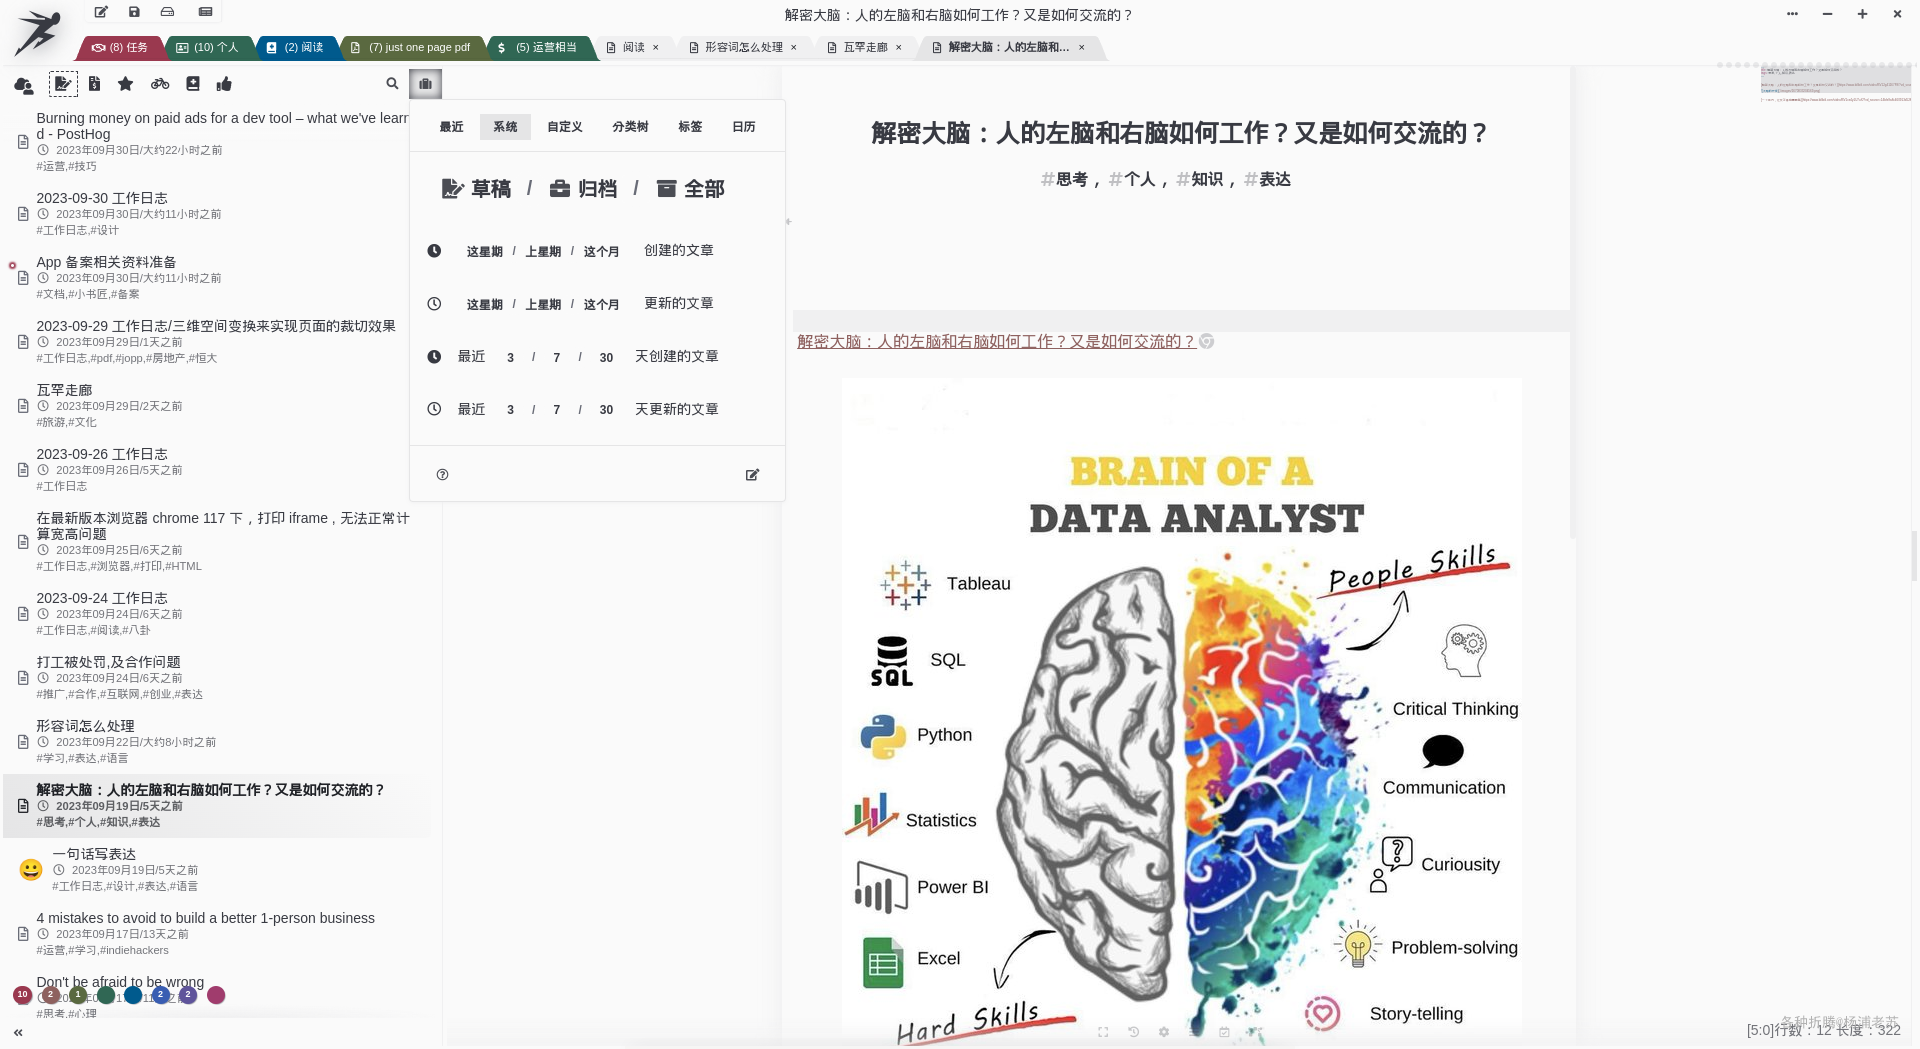
在开始折腾前,建议看看官方的视频,会解答你的很多疑问,比如软件是怎么实现的去中心化,又是如何实现分布式的,包括同步的方式等等 如果不想折腾,也可以去先进行在线体验:https://markdown.xiaoshujiang.com
安装
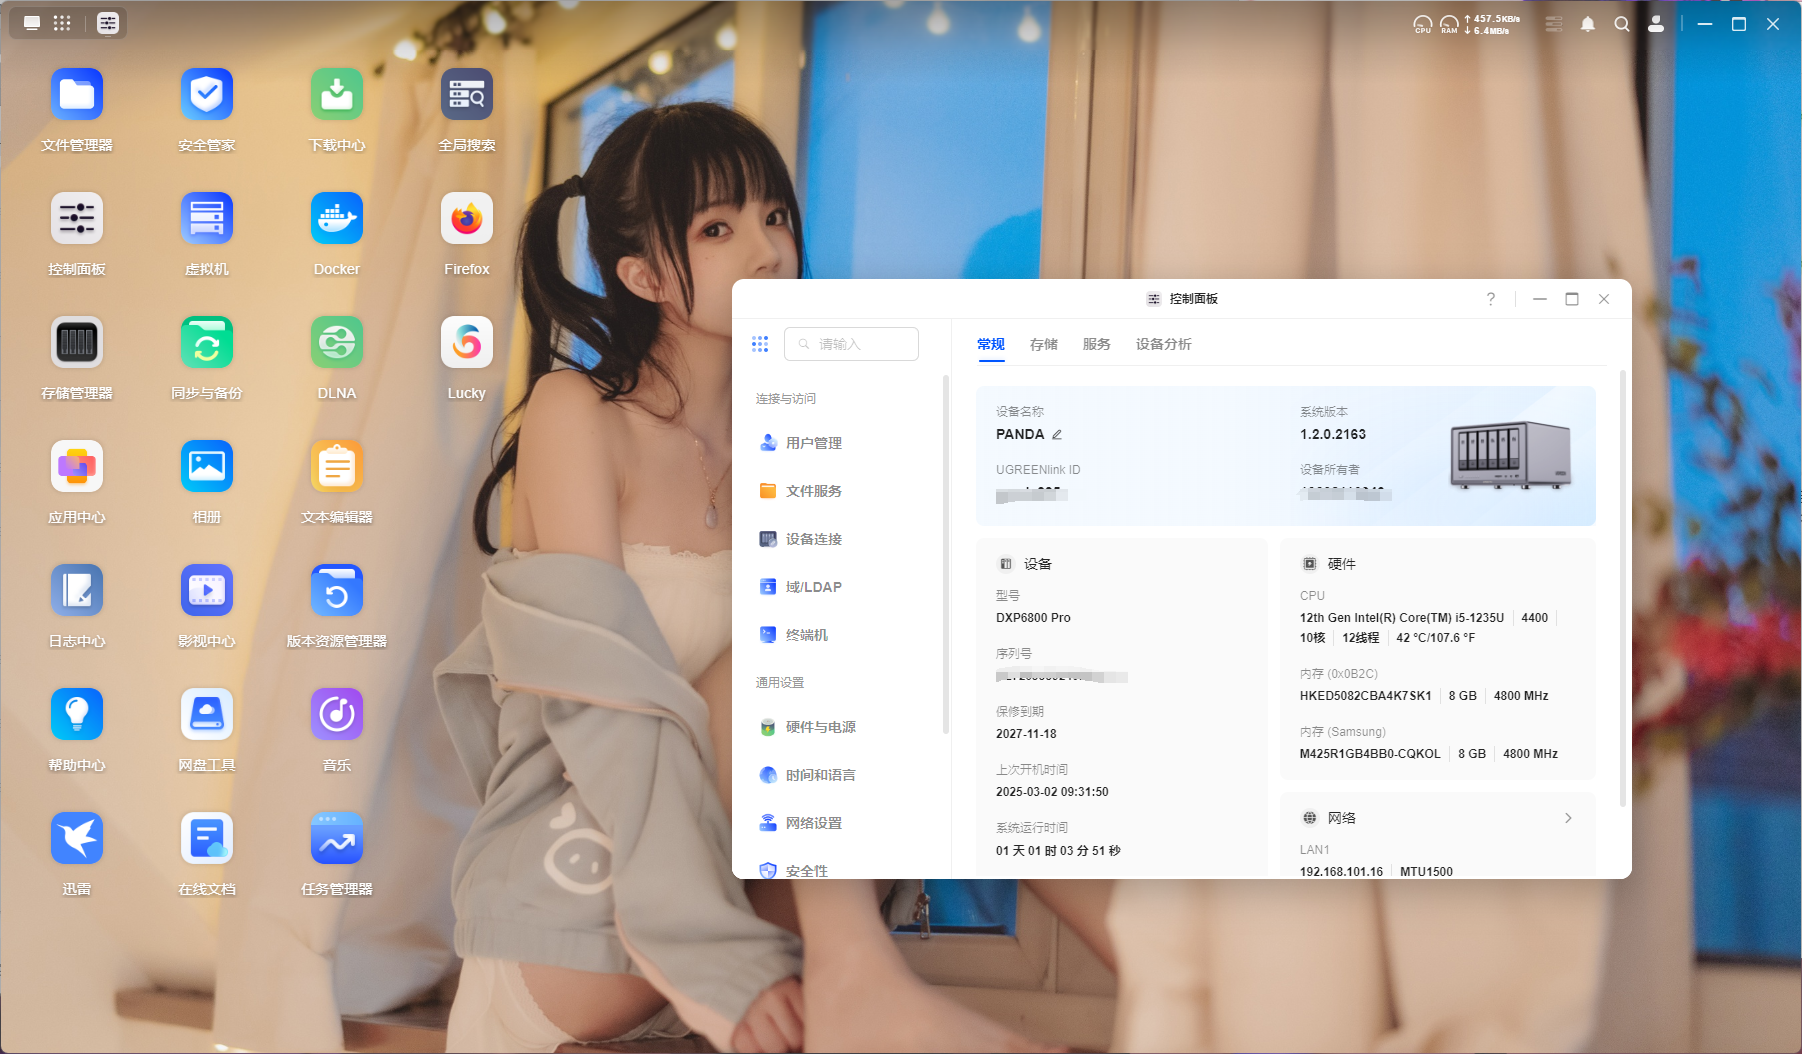
在群晖上以 Docker 方式安装。
小书匠的 Docker 又分为两个版本,天马版(suziwen/pegasus) 和 天马飞天版(suziwen/dragon) ,从功能上来说,天马飞天版 提供了服务器文章管理,比如服务器全文搜索(lucene),因此可能会需要更高一点的性能要求。
如果你只是想要多端同步,天马版 完全满足你的需求。如果想把服务器做为自己的数据中心,并且想要更好的管理文章,可以考虑使用 天马飞天版。
这里老苏采用的是 天马飞天版(suziwen/dragon)。
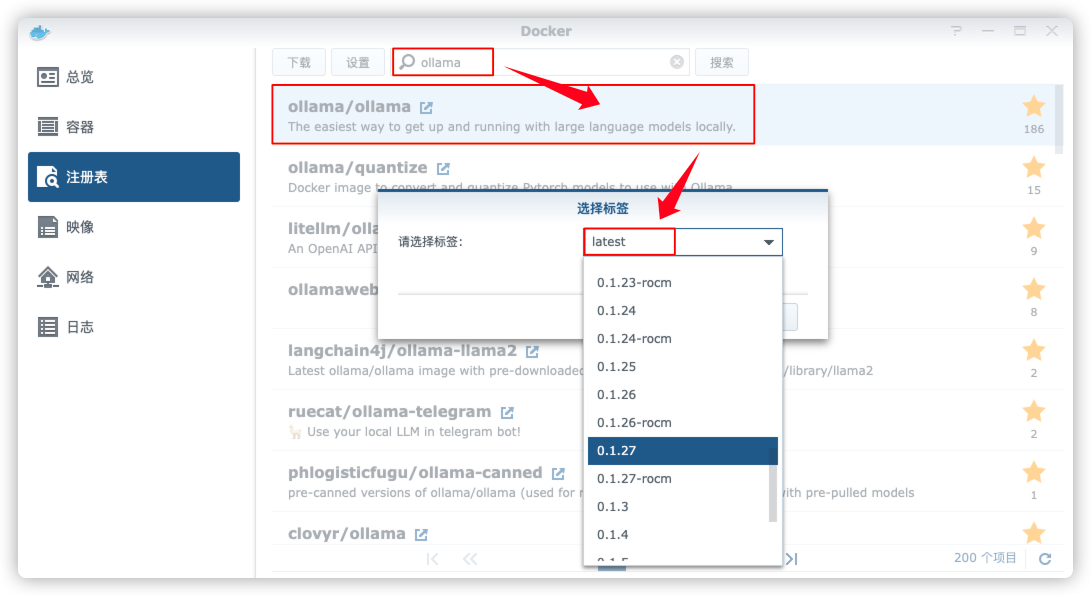
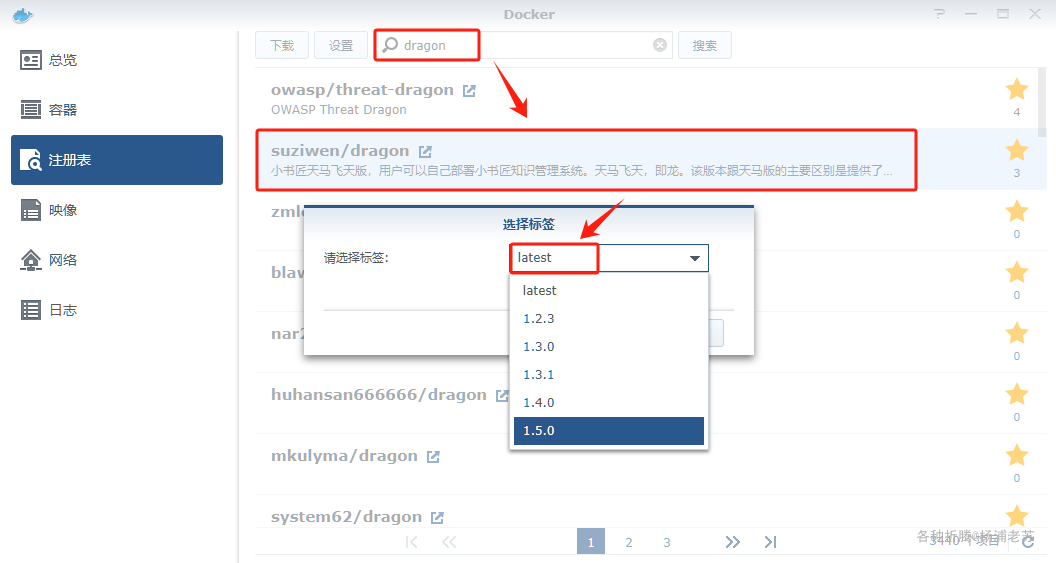
在注册表中搜索 dragon ,选择第二个 suziwen/dragon,版本选择 latest。
本文写作时,
latest版本对应为1.5.0;
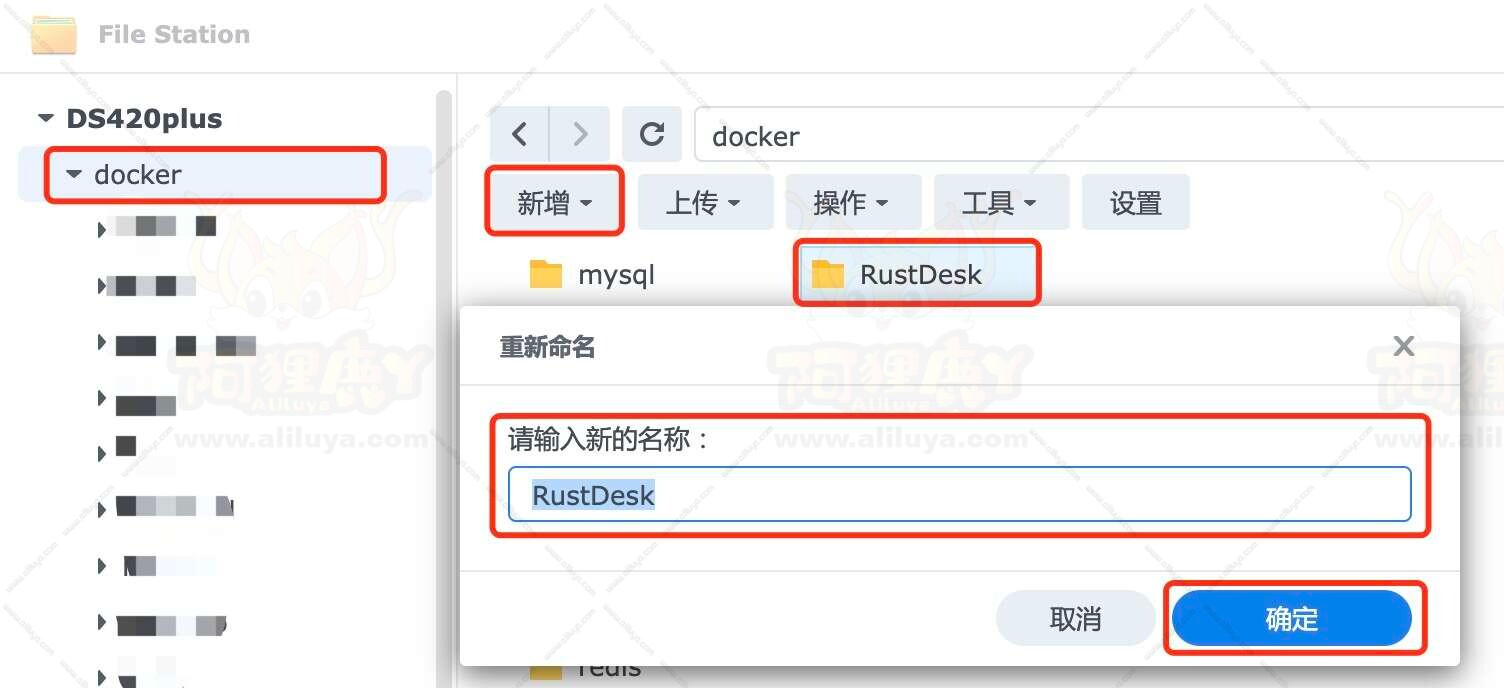
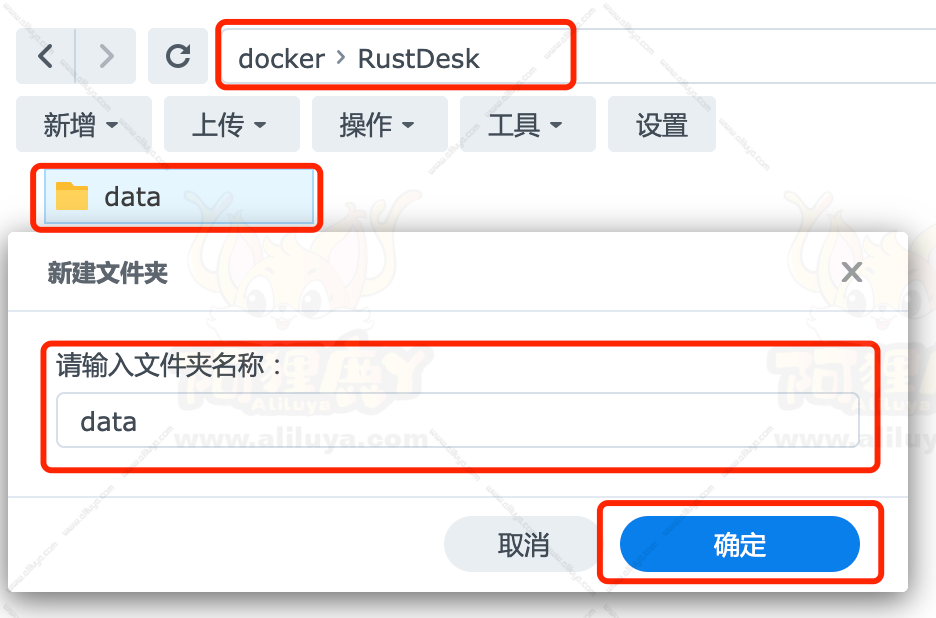
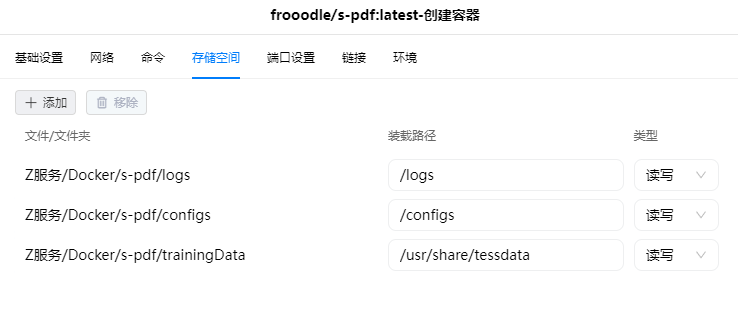
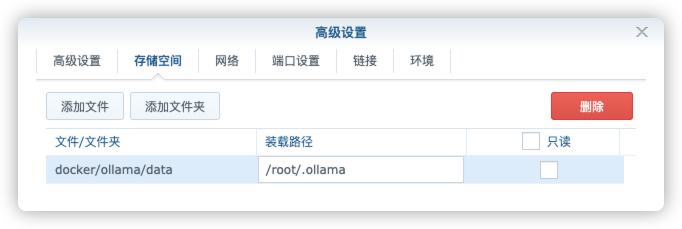
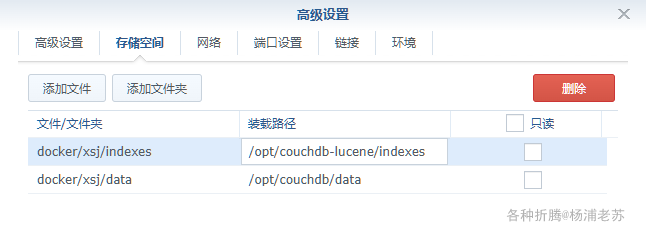
在 docker 文件夹中,创建一个新文件夹 xsj,并在其中建一个子文件夹 data
| 文件夹 | 装载路径 | 说明 |
|---|---|---|
| docker/xsj/data | /opt/couchdb/data | 存放数据文件 |
| docker/xsj/indexes | /opt/couchdb-lucene/indexes | 存放索引文件 |
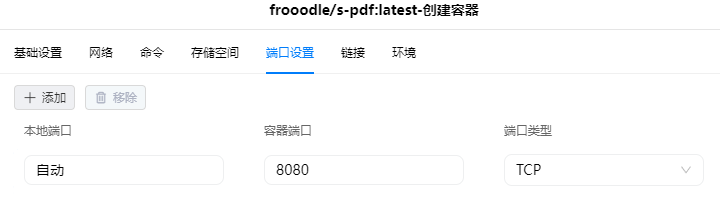
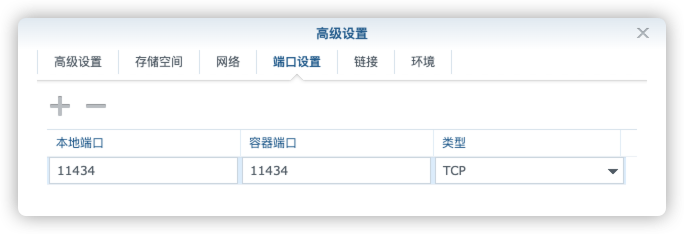
端口 本地端口不冲突就行,不确定的话可以用命令查一下
1 | # 查看端口占用 |
| 本地端口 | 容器端口 |
|---|---|
| 5083 | 80 |
默认暴露了 4 个端口,但官方也没介绍,只知道 5984 是 couchdb 数据库的端口,但官方并不建议直接对外开放 5984 端口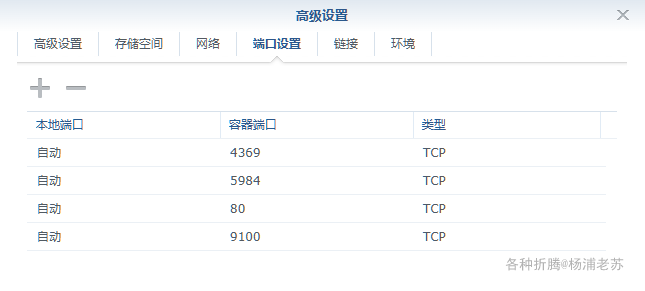
所以老苏只留了一个 Web 端口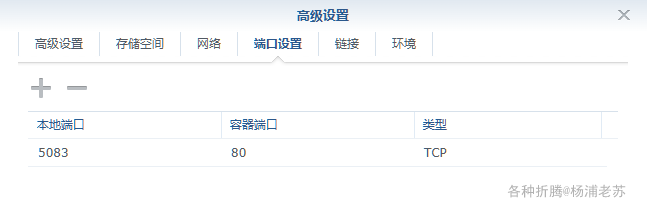
环境
| 可变 | 值 |
|---|---|
| COUCHDB_USER | 例如设为 laosu |
| COUCHDB_PASSWORD | 例如设为 password |
这两个变量是 couchdb 数据库的用户名及密码,都有默认值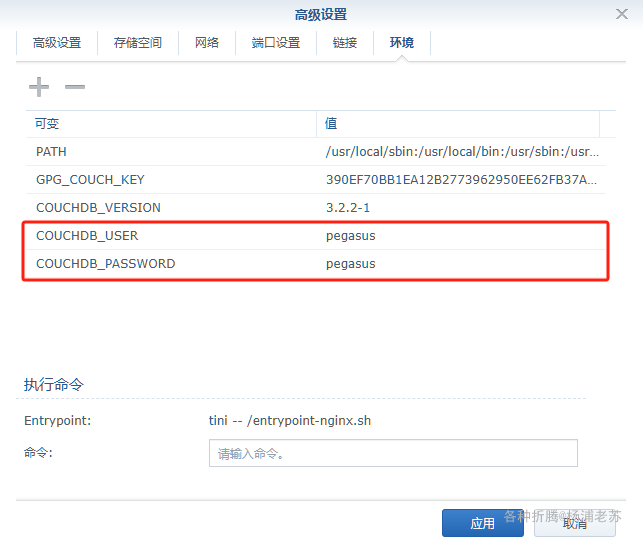
可以根据自己的需要进行修改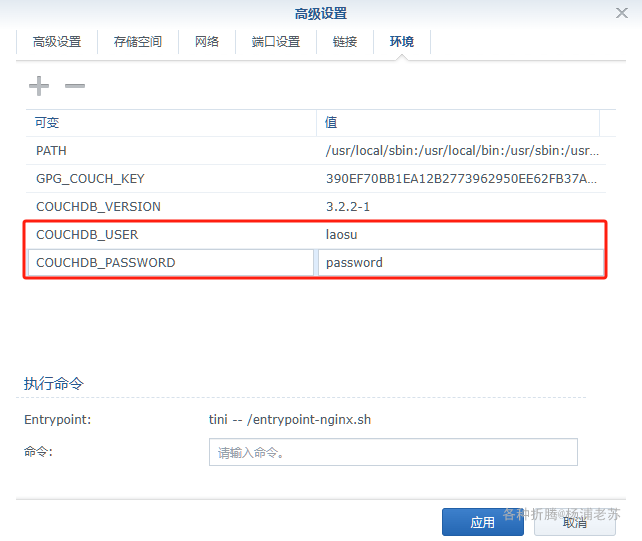
如果你希望页面需要登录才能访问,可以增加 NGINX_USER 和 NGINX_PASSWORD,如果有一个值为空,表示可以直接访问,不需要登录。
命令行安装
如果你熟悉命令行,可能用 docker cli 更快捷
1 | # 新建文件夹 xsj 和 子目录 |
也可以用 docker-compose 安装,将下面的内容保存为 docker-compose.yml 文件
1 | version: '3' |
然后执行下面的命令
1 | # 新建文件夹 xsj 和 子目录 |

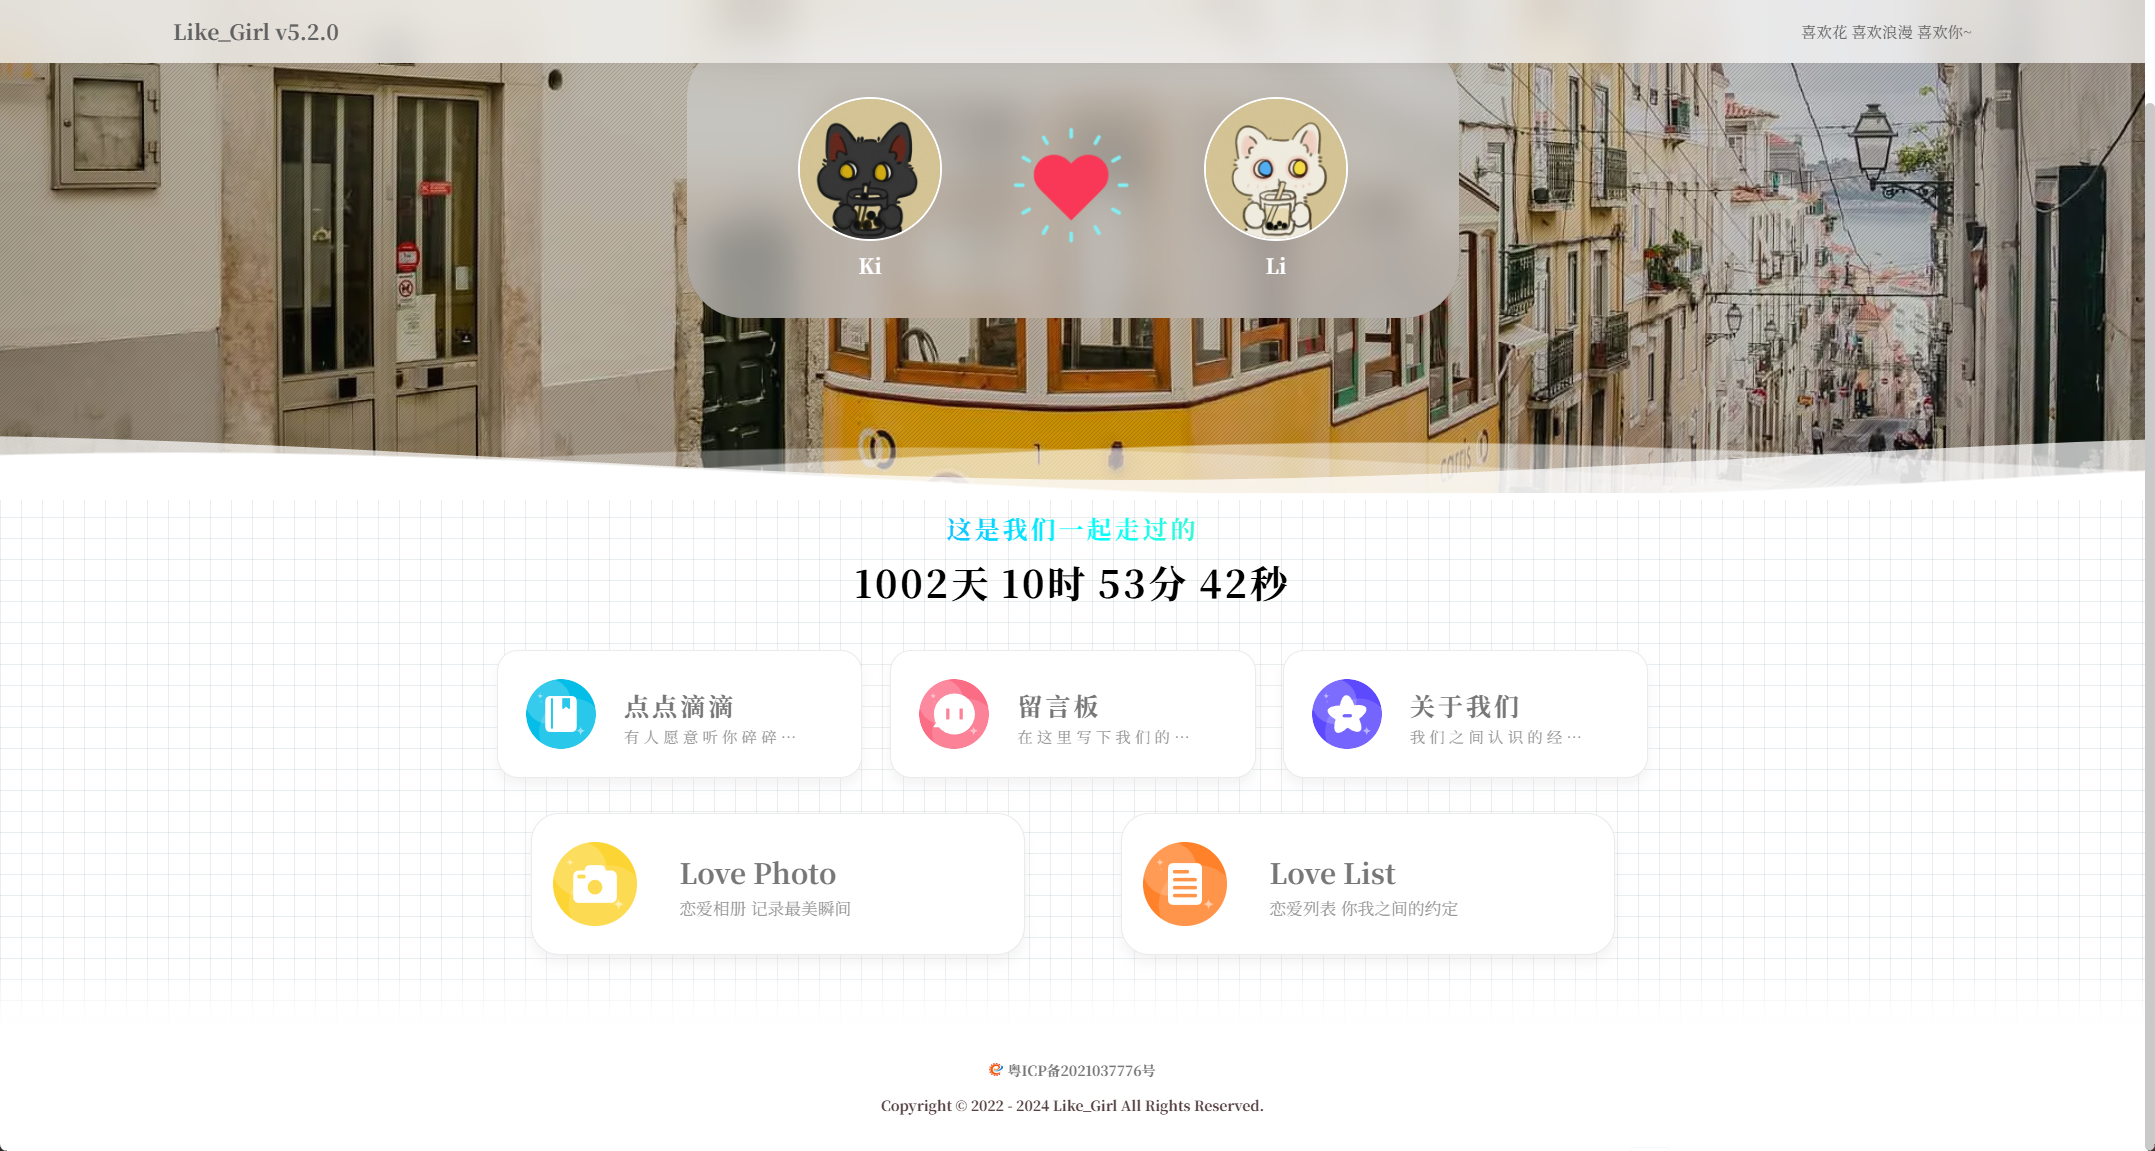
运行 在浏览器中输入 http://群晖IP:5083 就能看到注册界面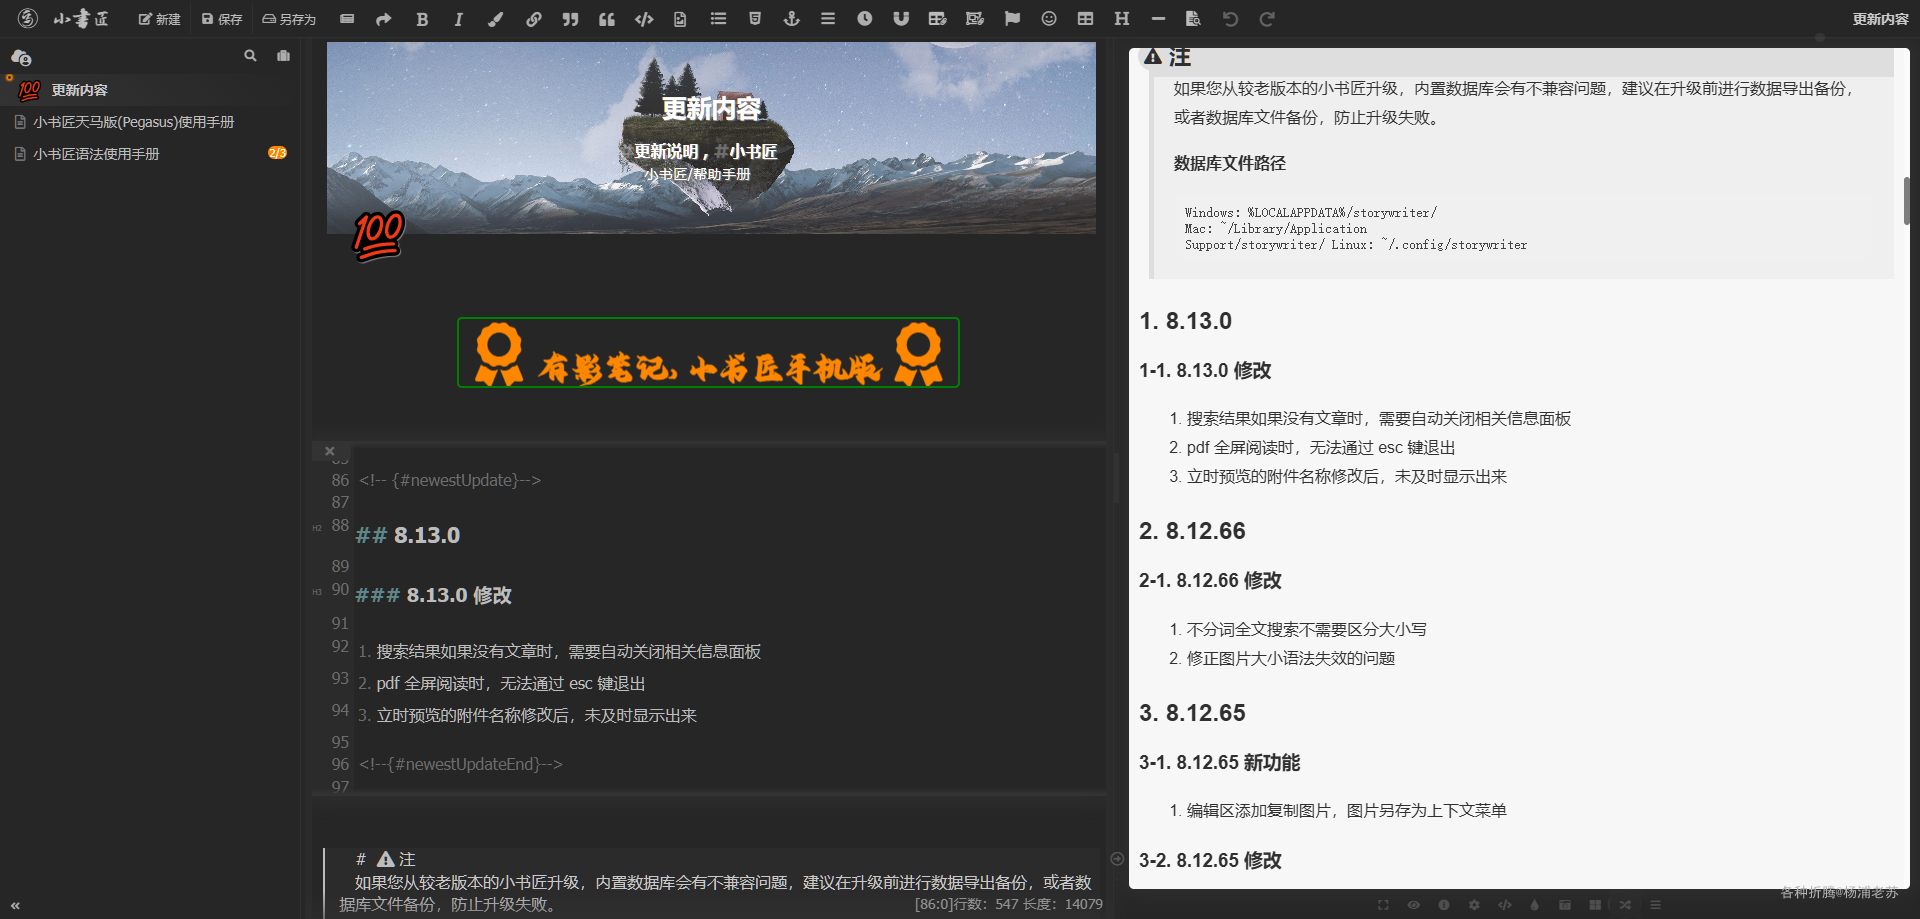
纯中文界面,使用起来挺简单的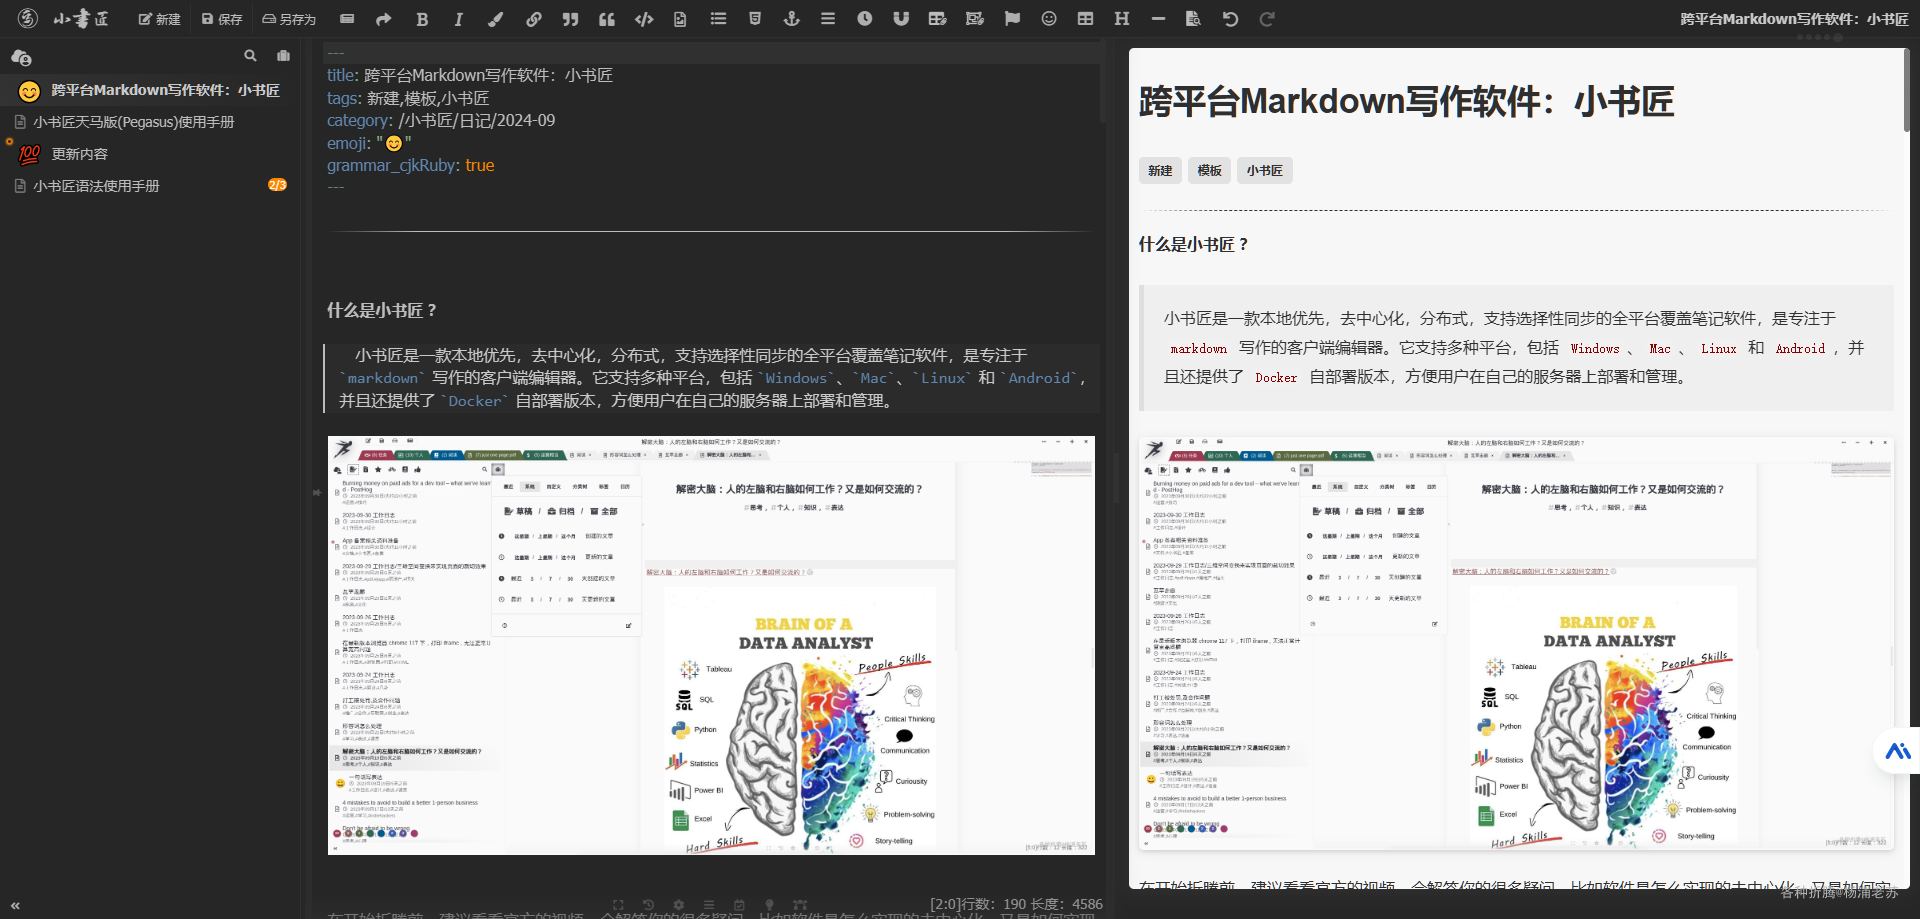
点左上角的 logo 可以进入设置界面
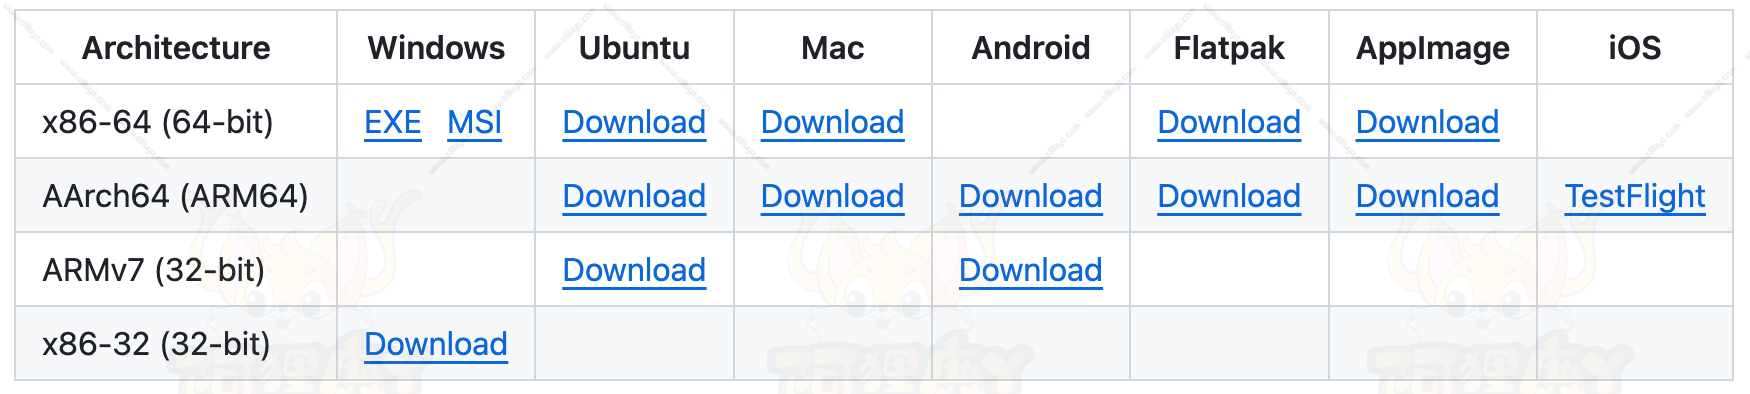
客户端同步 客户端下载地址:https://soft.xiaoshujiang.com/download,可以根据需要选择下载渠道和平台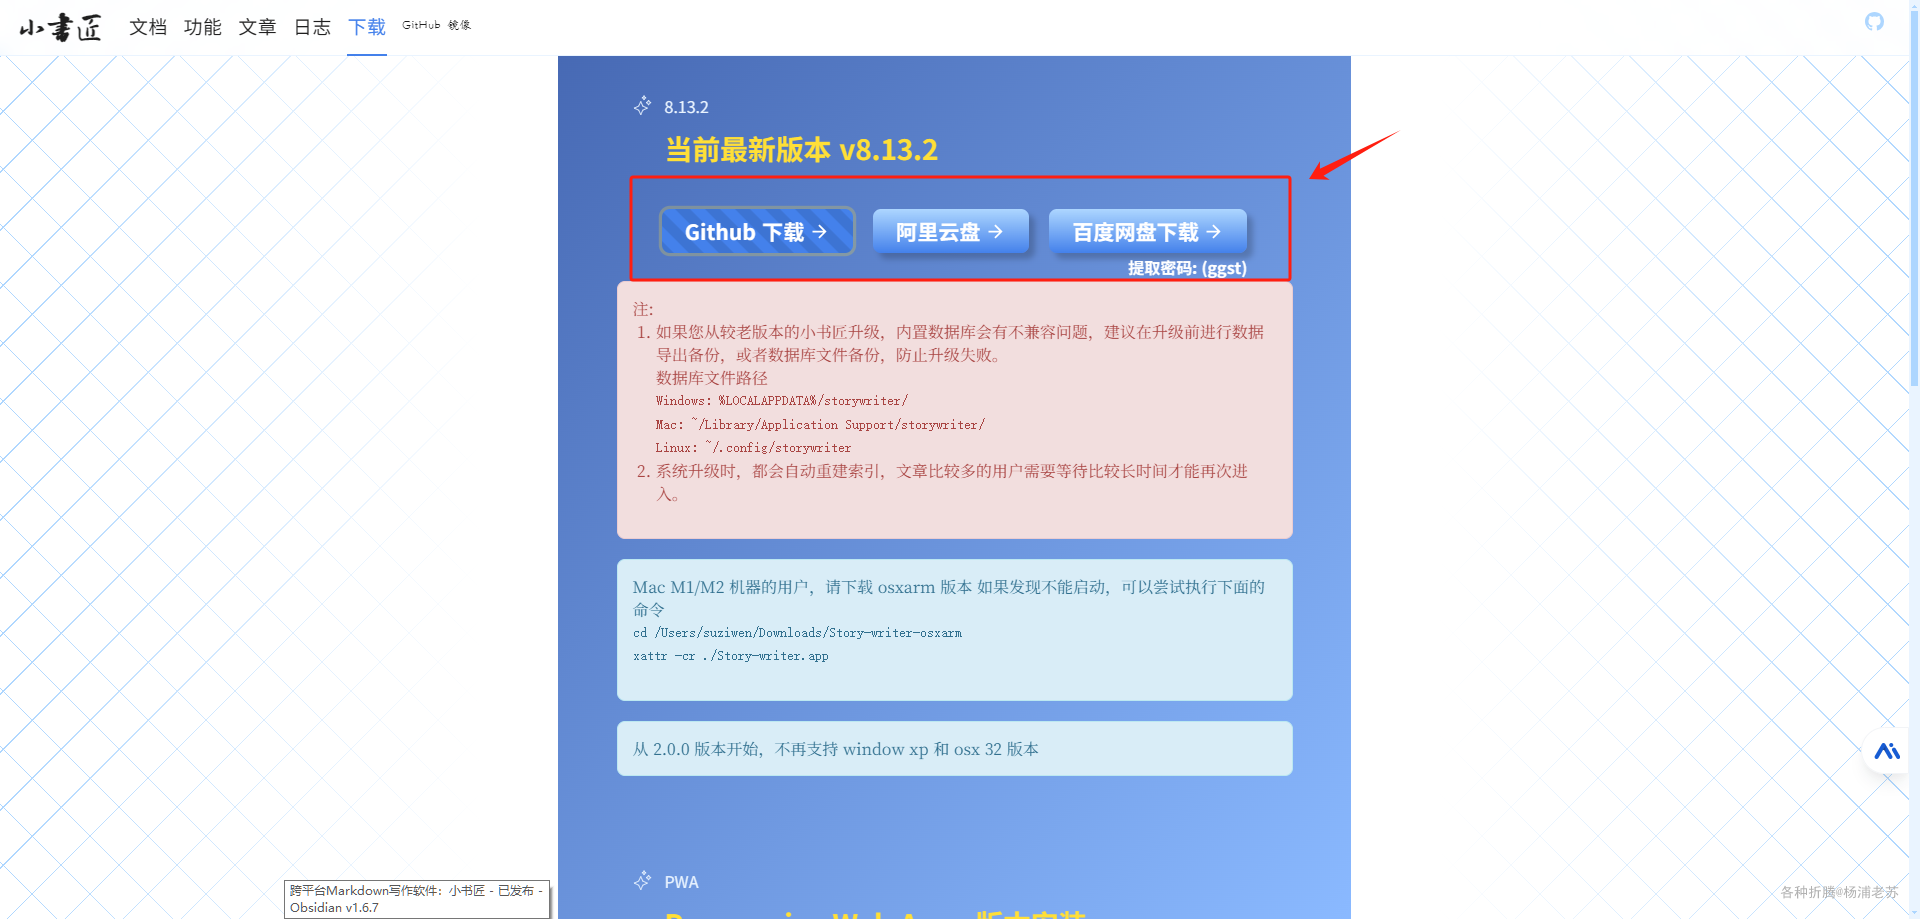
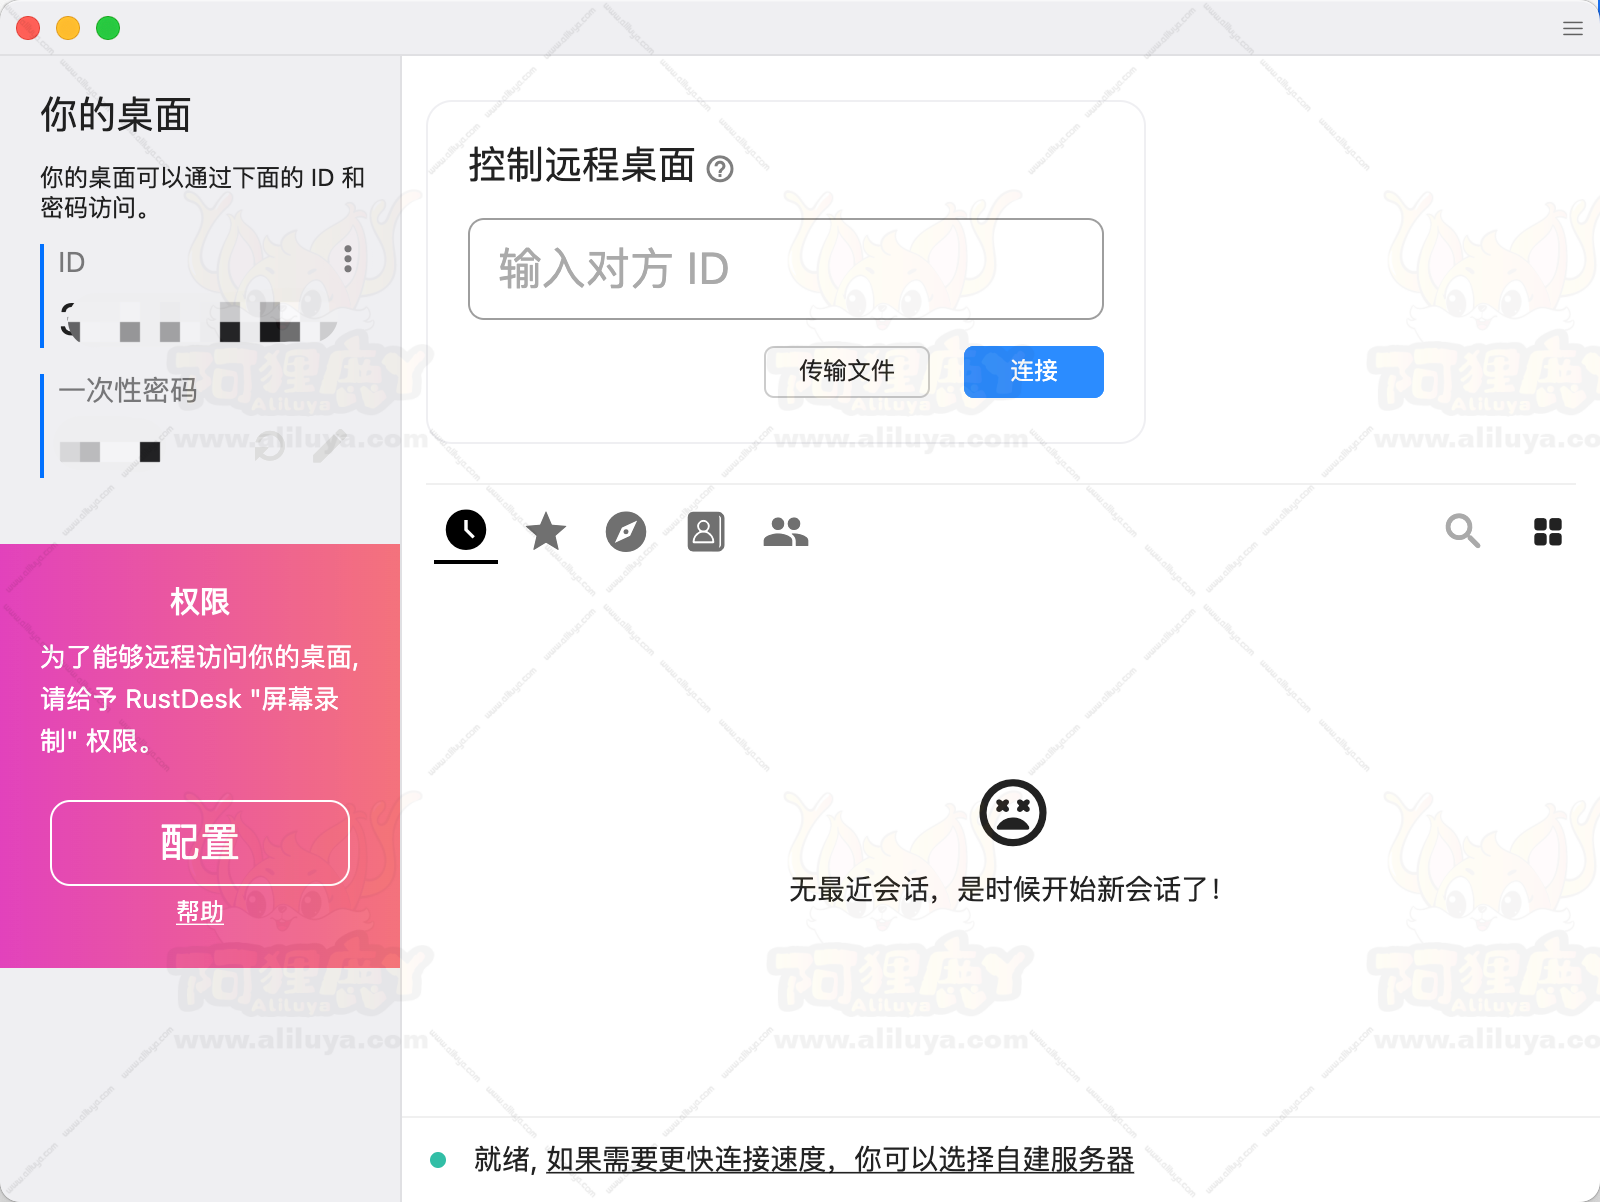
以 Windows 平台为例,第一次运行的主界面
飞天版做服务端
如果要跟 docker 安装的网页版同步,需要点左上角的图标进入设置界面
数据 –> 同步,发现不支持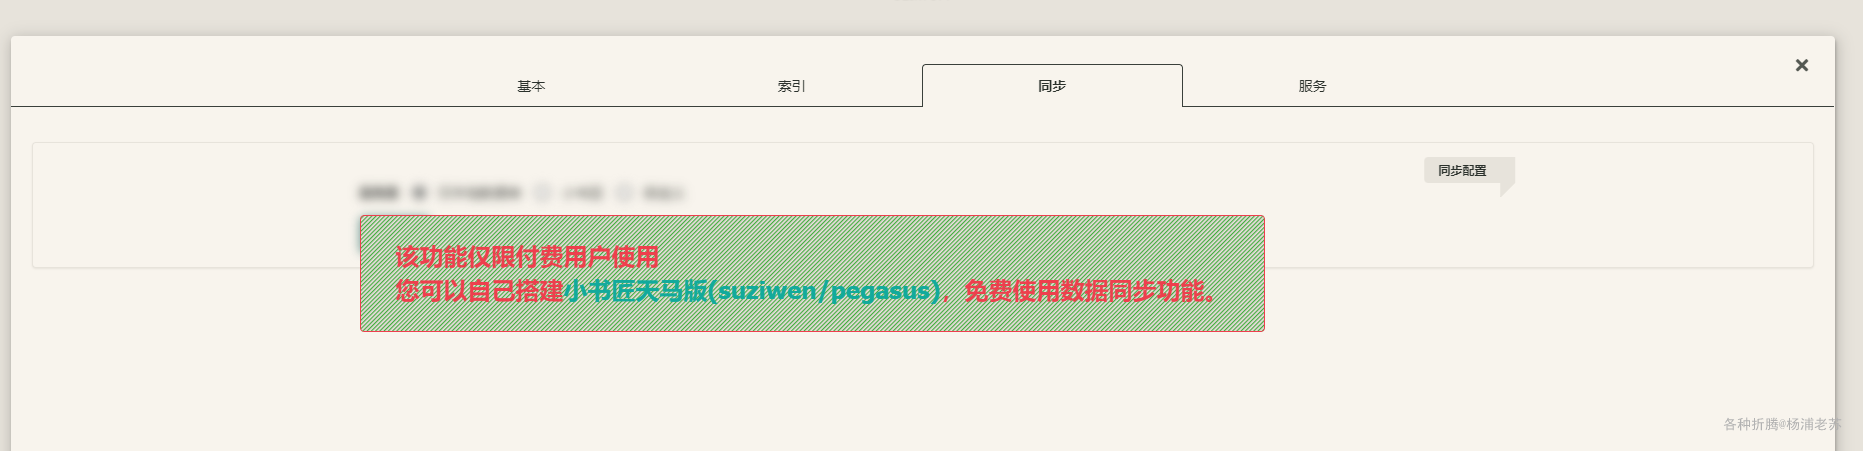
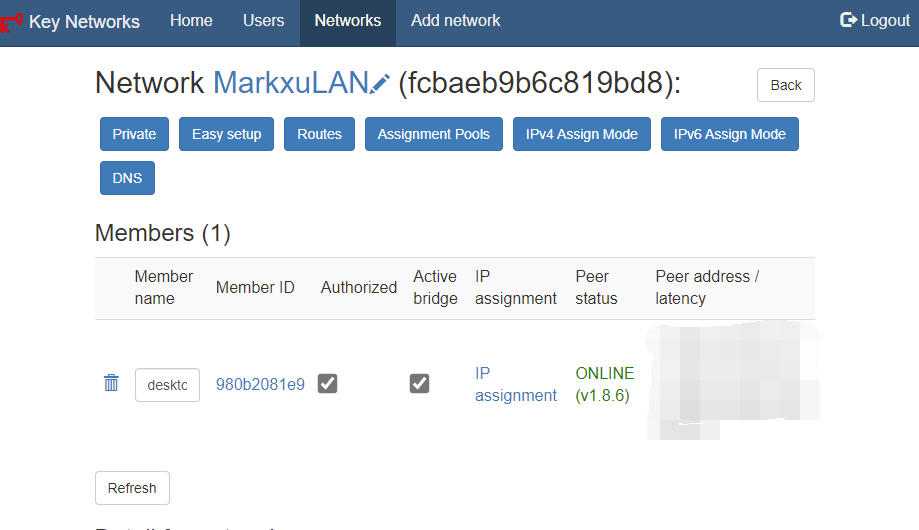
客户端做服务端 Windows 客户端可以作为 珍珑网格服务器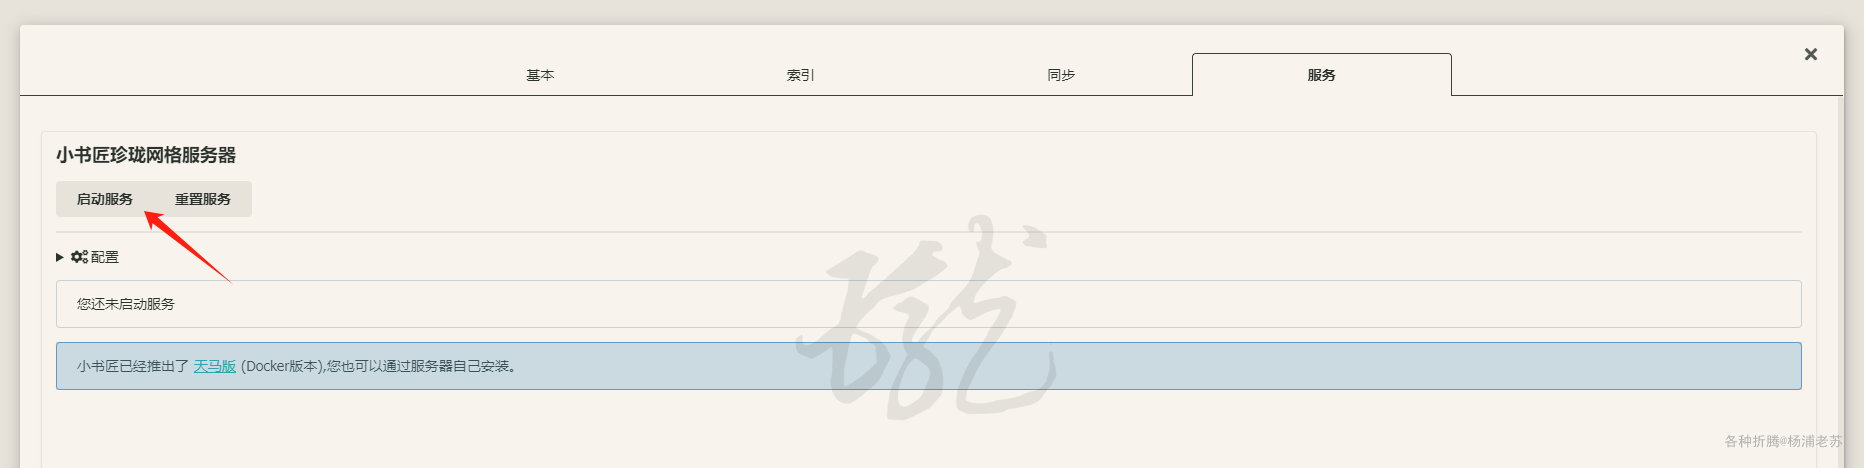
但是发现网页端没有 同步 设置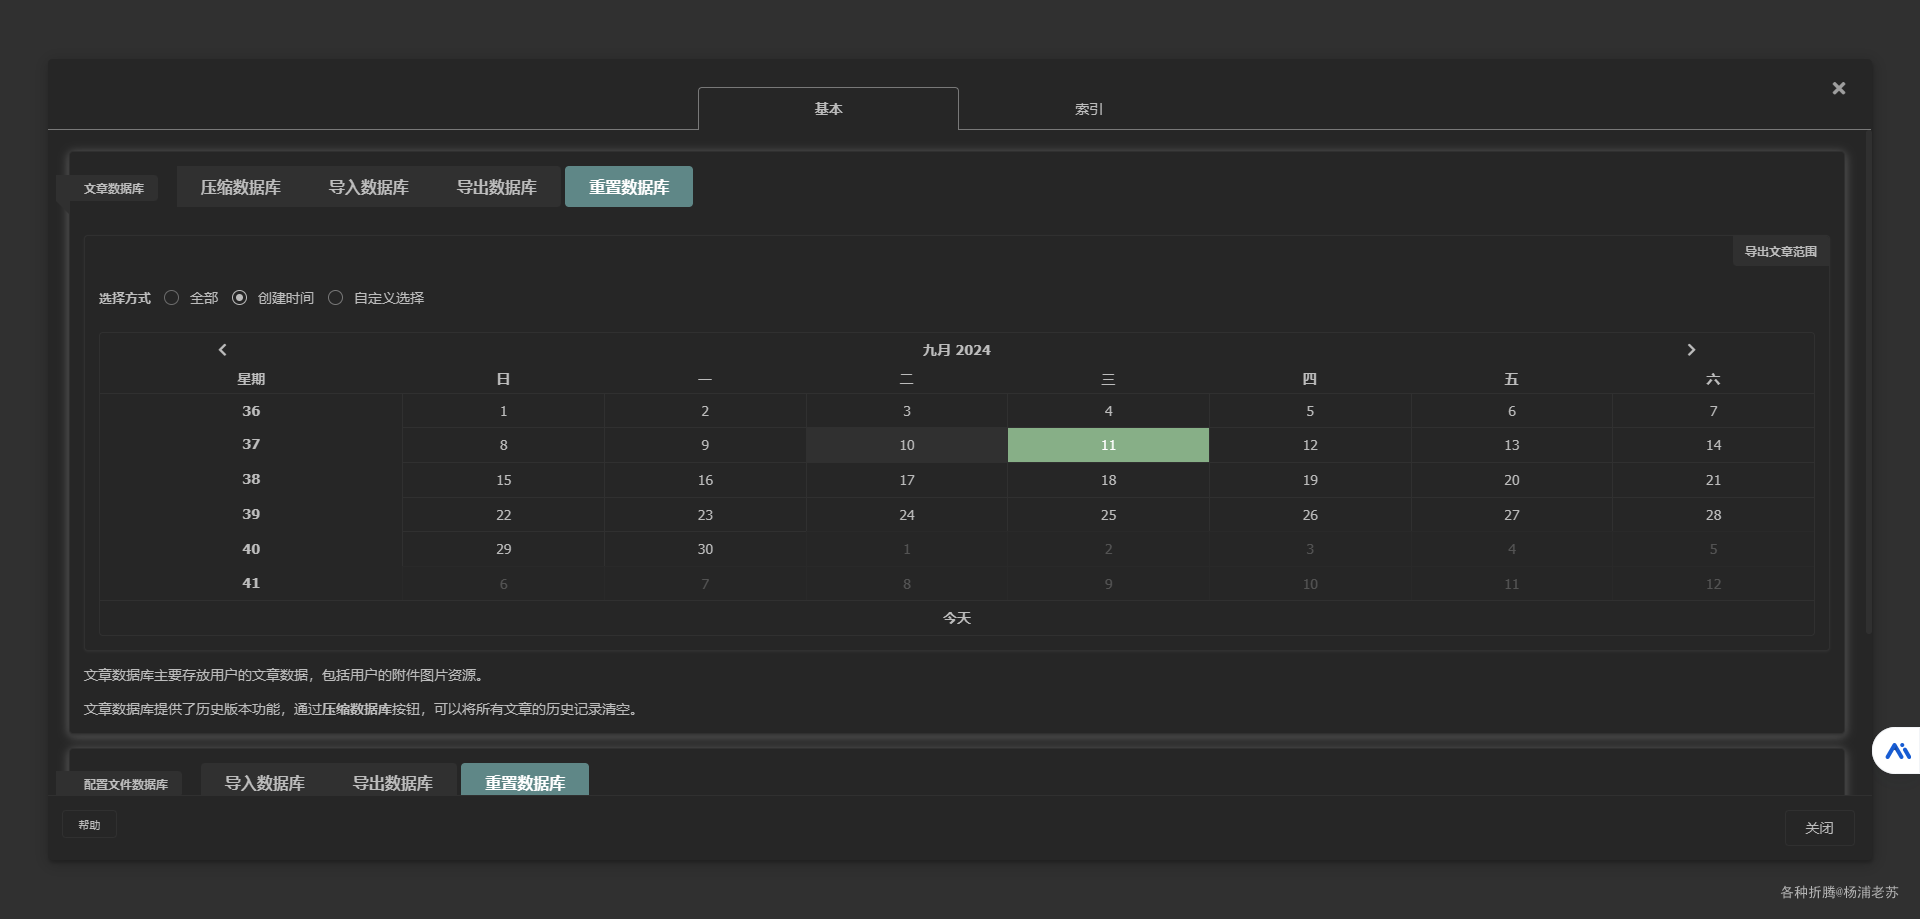
第三方数据源
群晖上启用 WebDAV Server 套件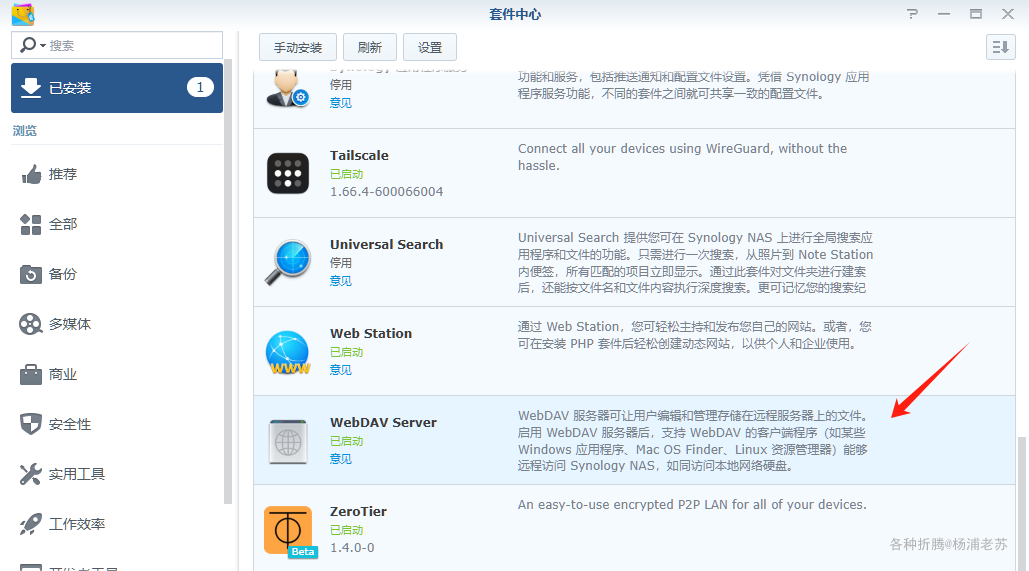
如果你不是用的群晖,也可以自己搭建 WebDAV 服务或者直接使用第三方的 WebDAV 服务,例如:坚果云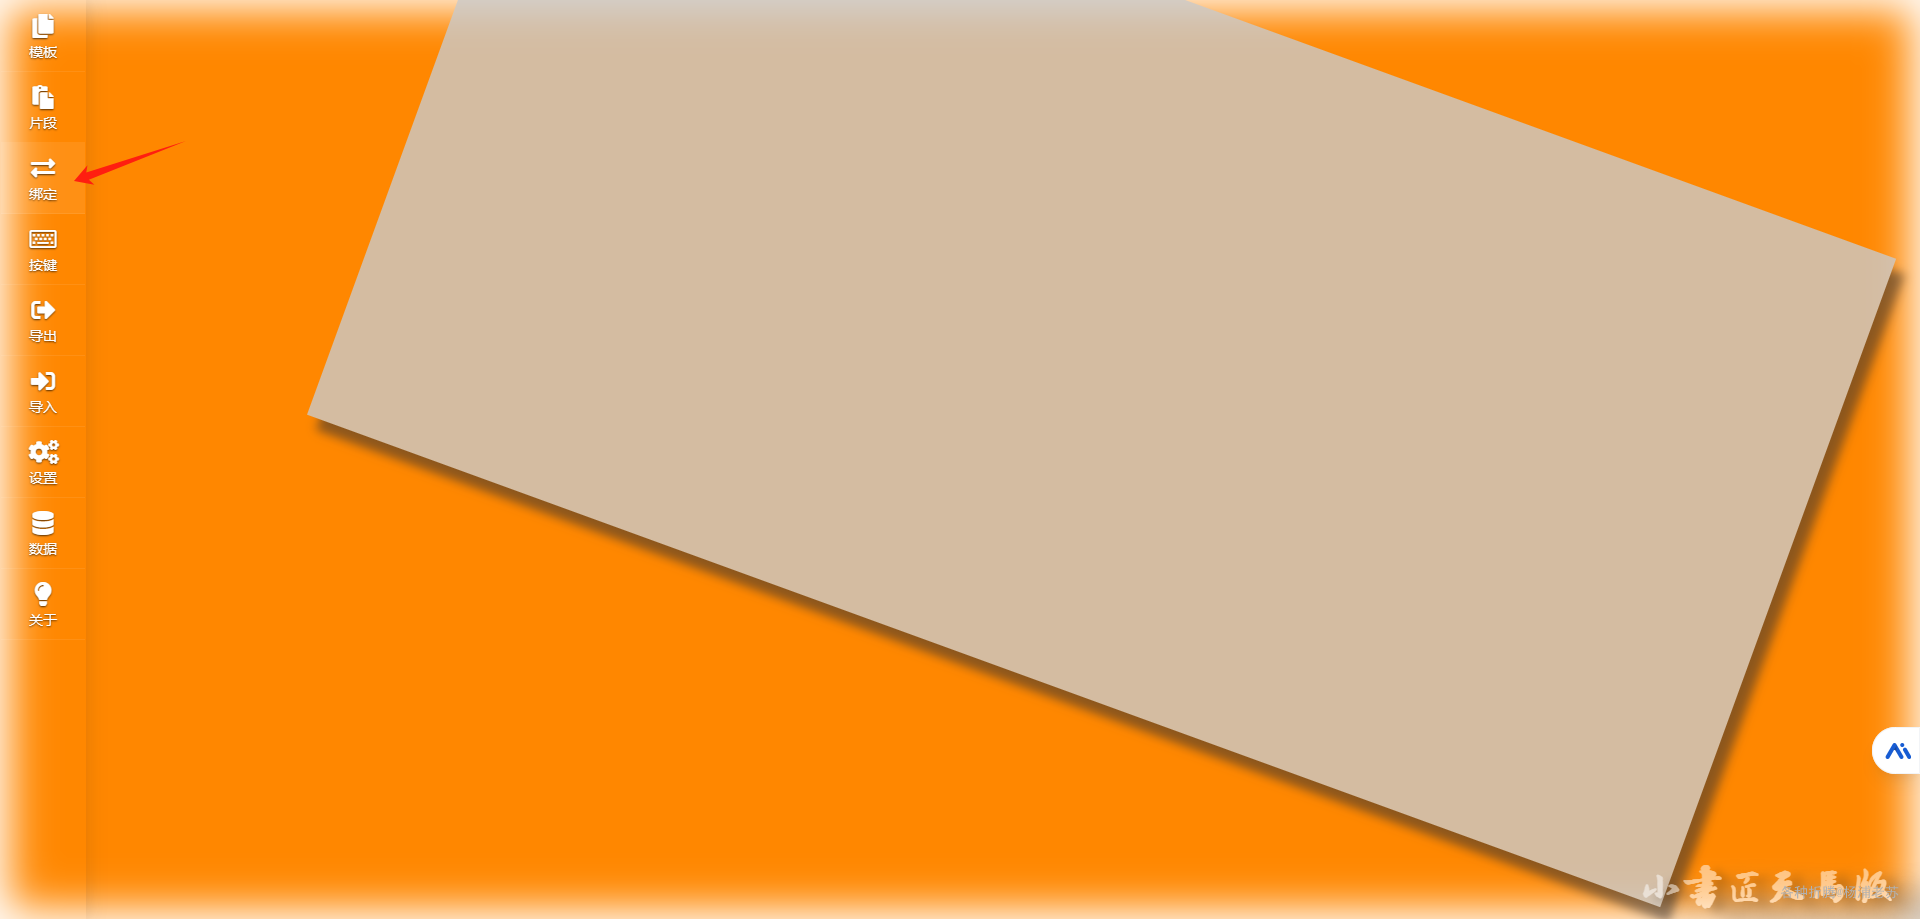
网页端进入 设置 –> 绑定 –> WebDAV 文件系统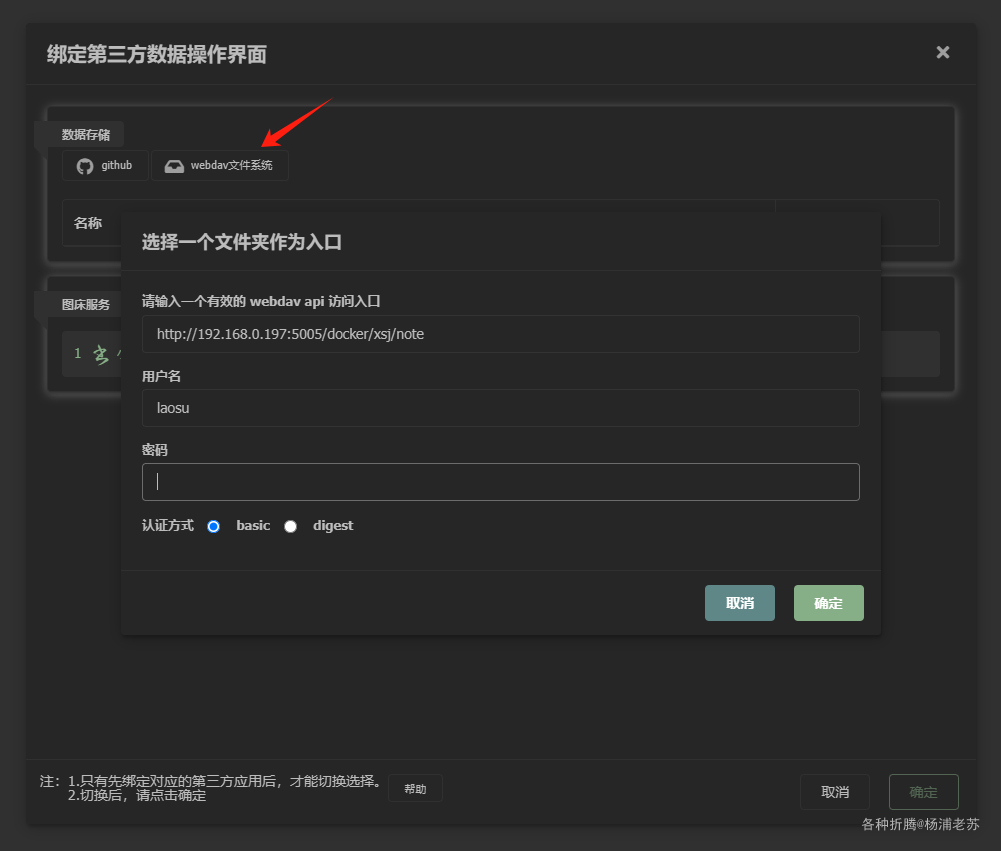
添加成功后,还需要勾选启用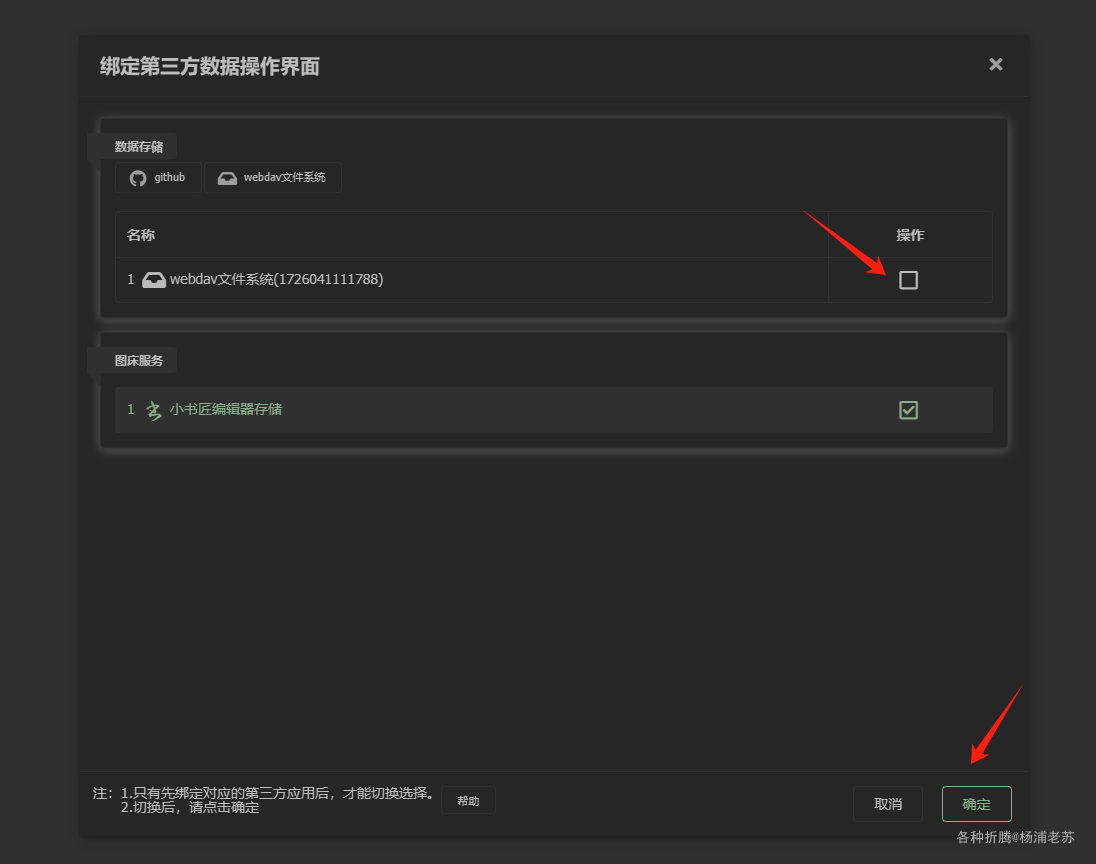
回到主界面,发现多了 webdav 文件系统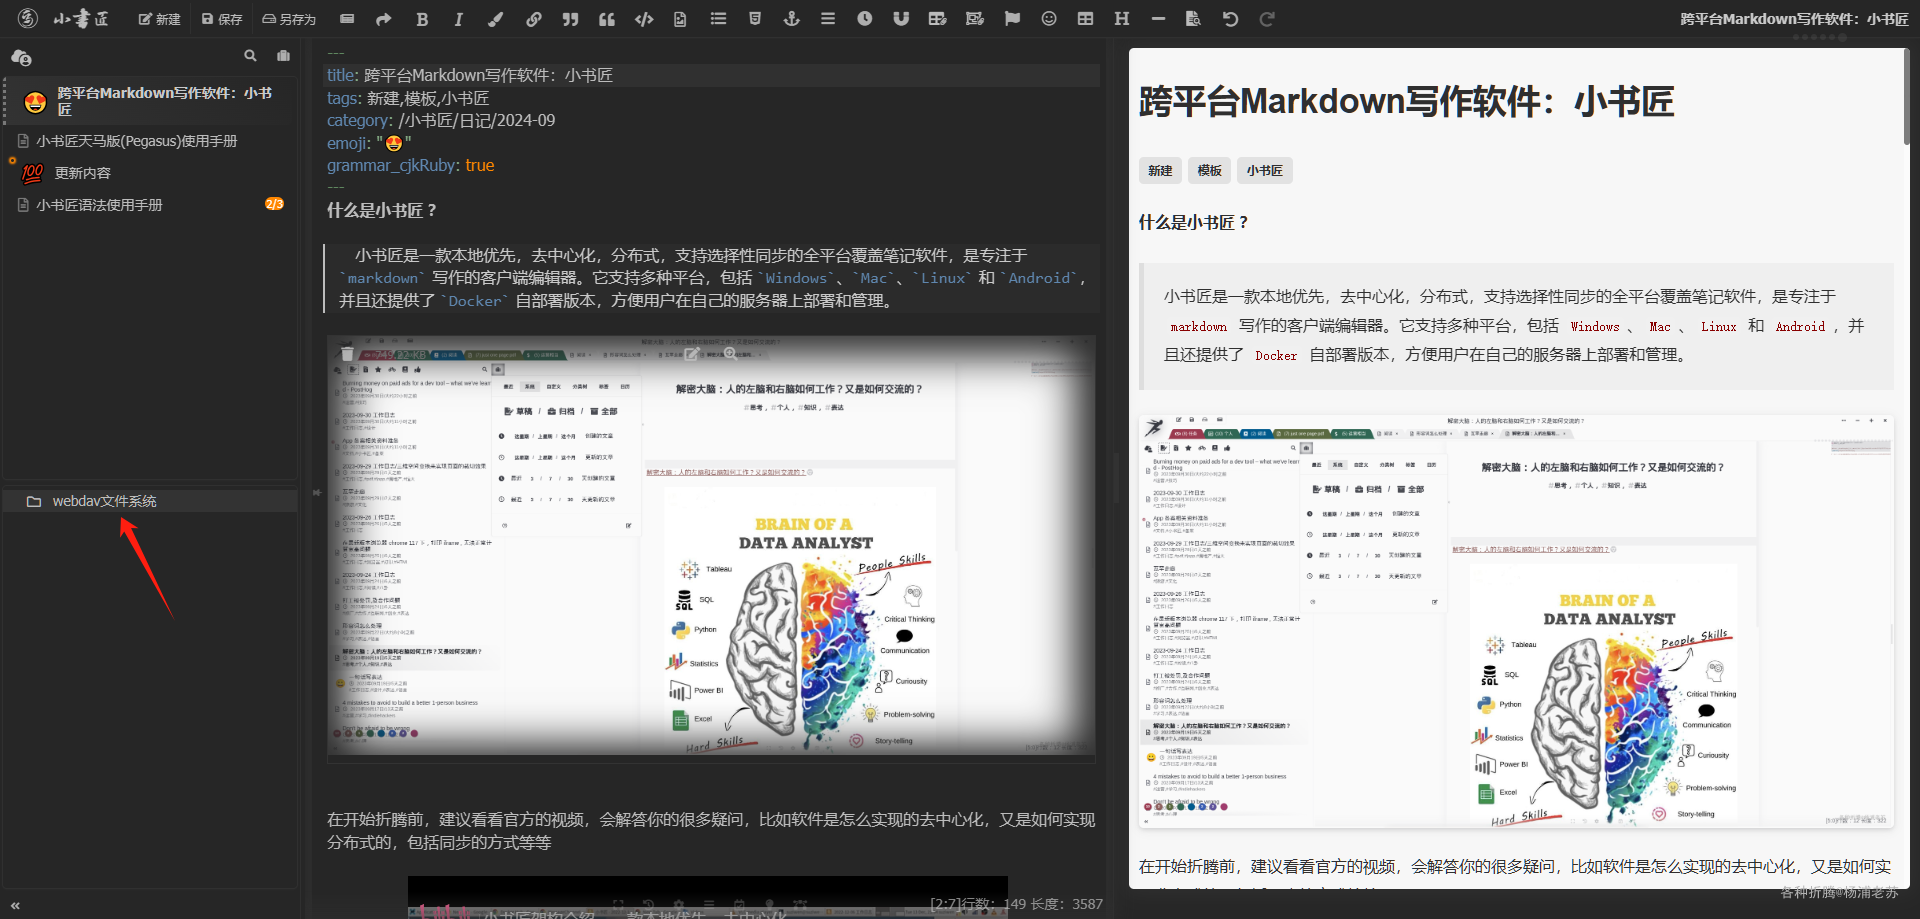
尝试了不能直接拖拽文章,只能另存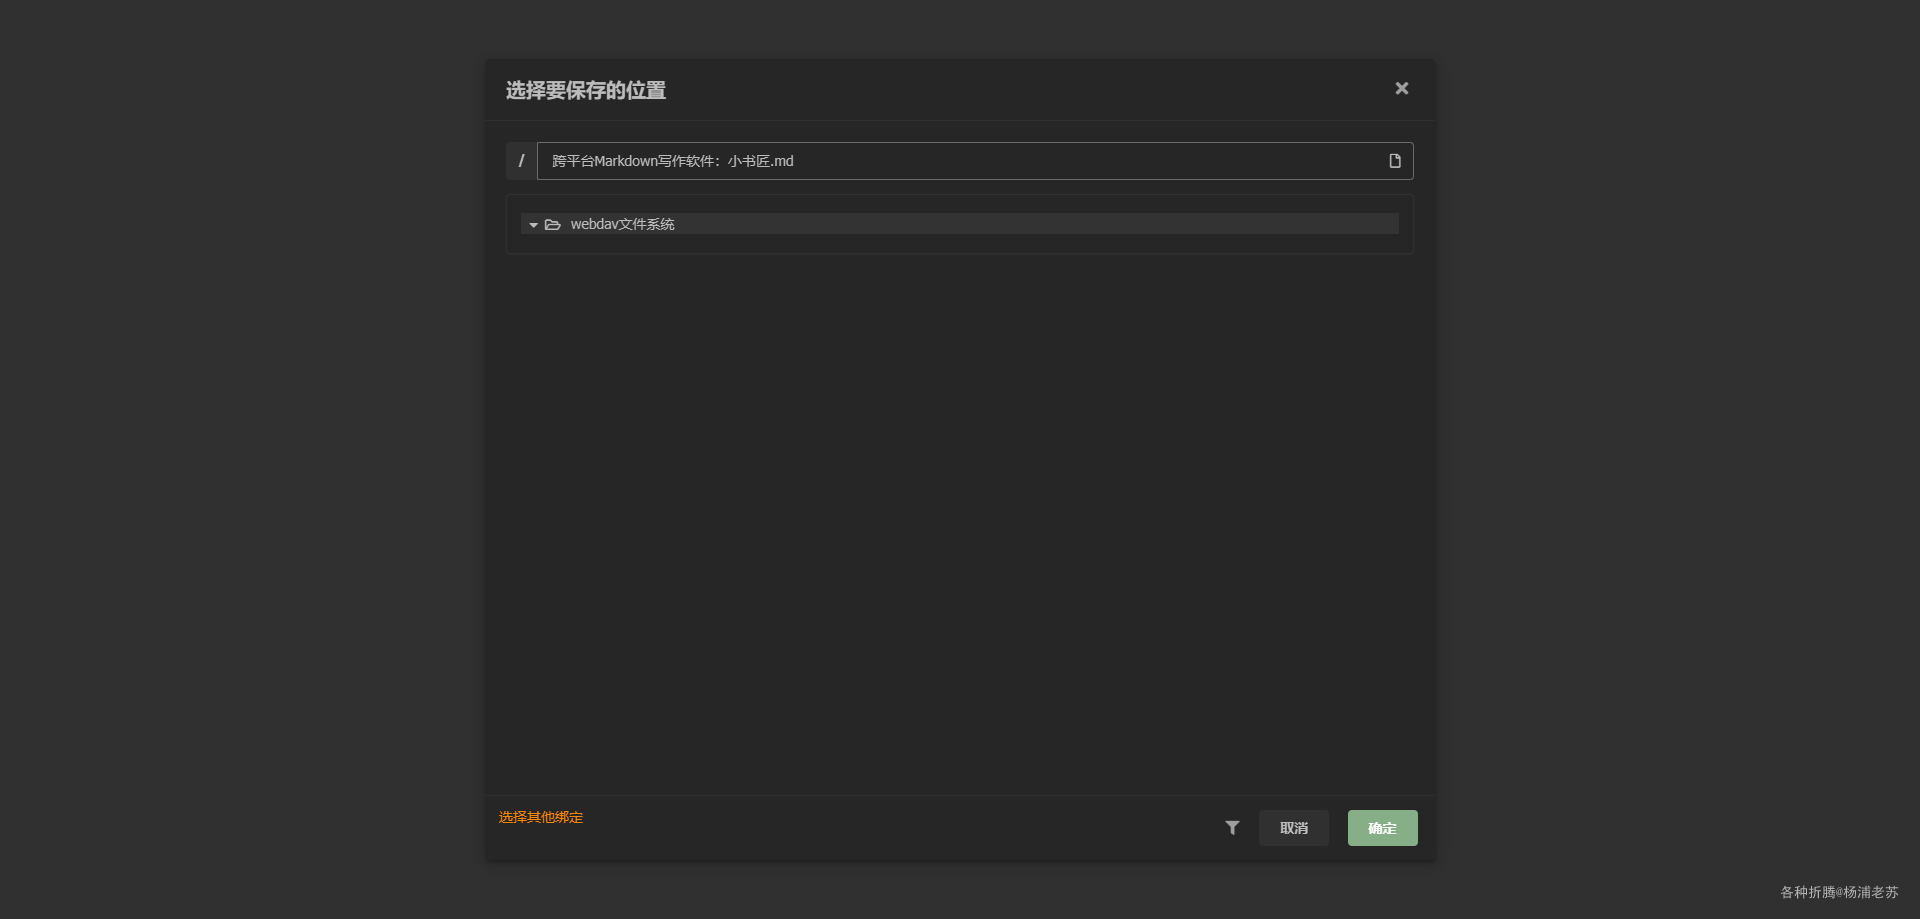
另存之后,在 webdav 中就有了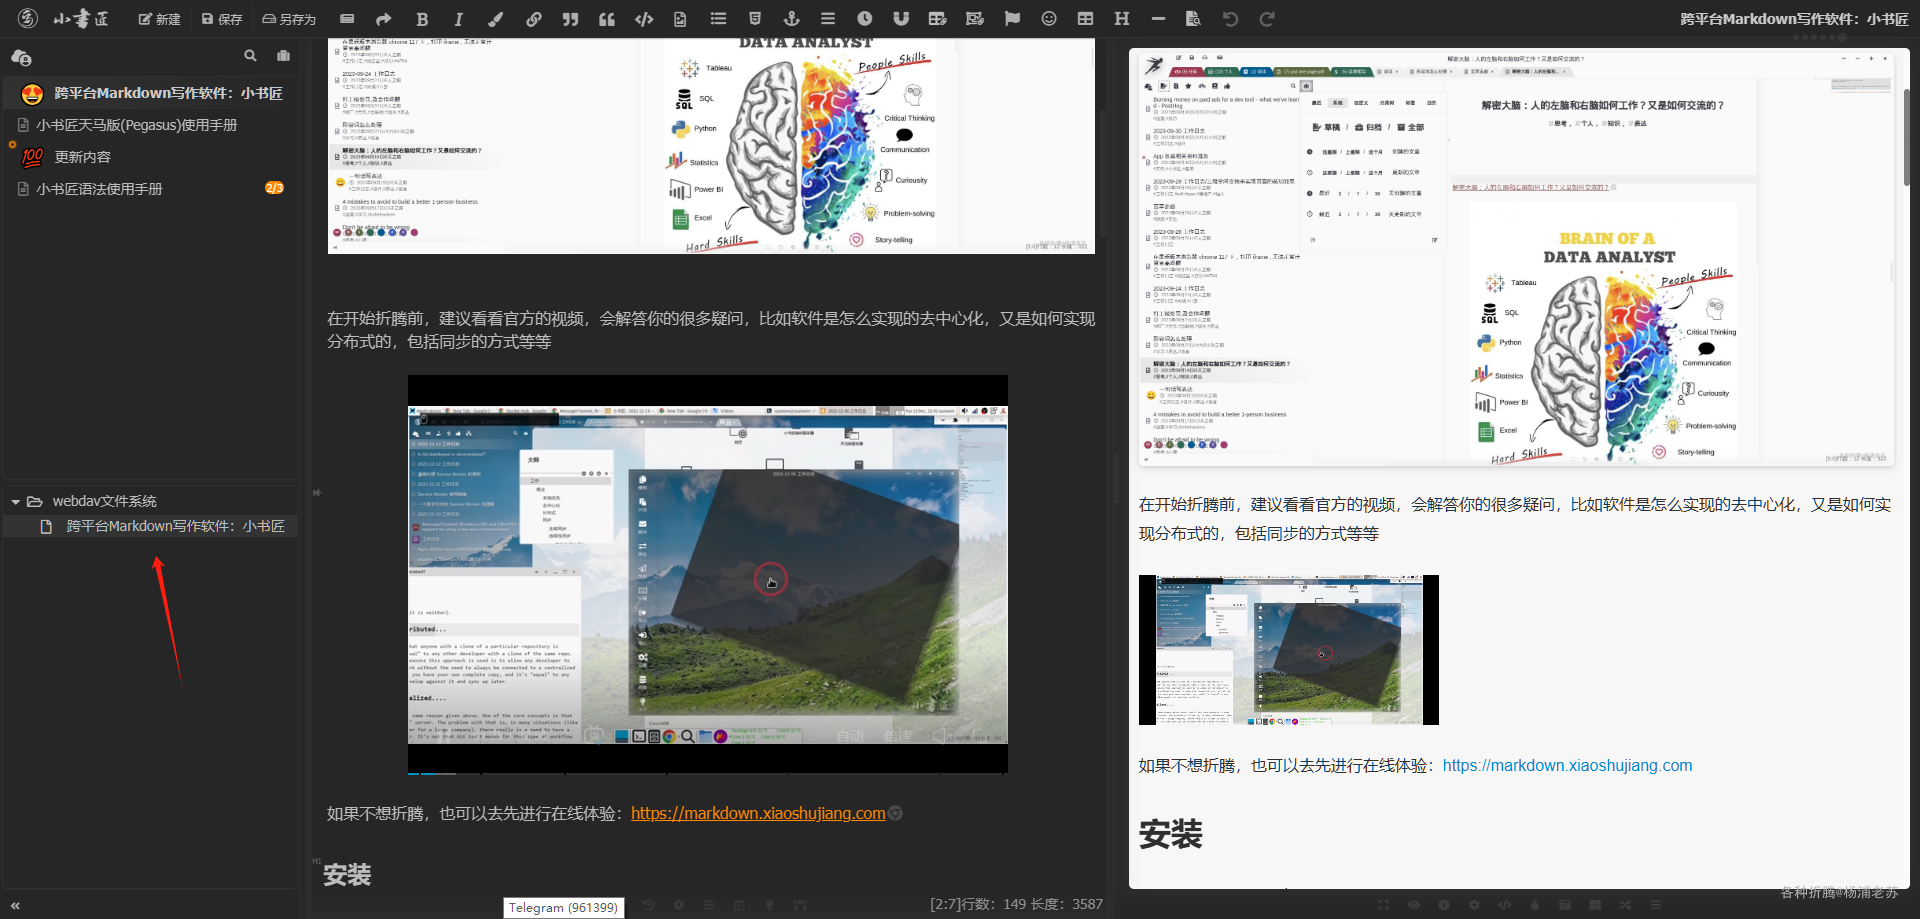
在 FileStation 中查看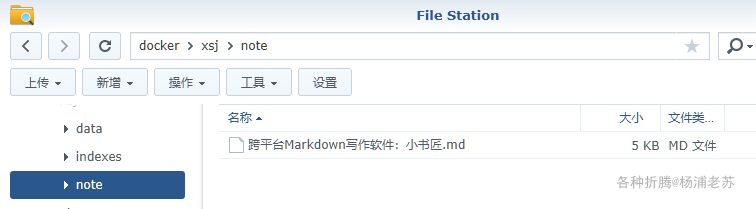
现在开始设置 Windows 客户端,客户端看起来是 electron 开发的,所以操作和网页端是一样的,只是支持的类型更多一些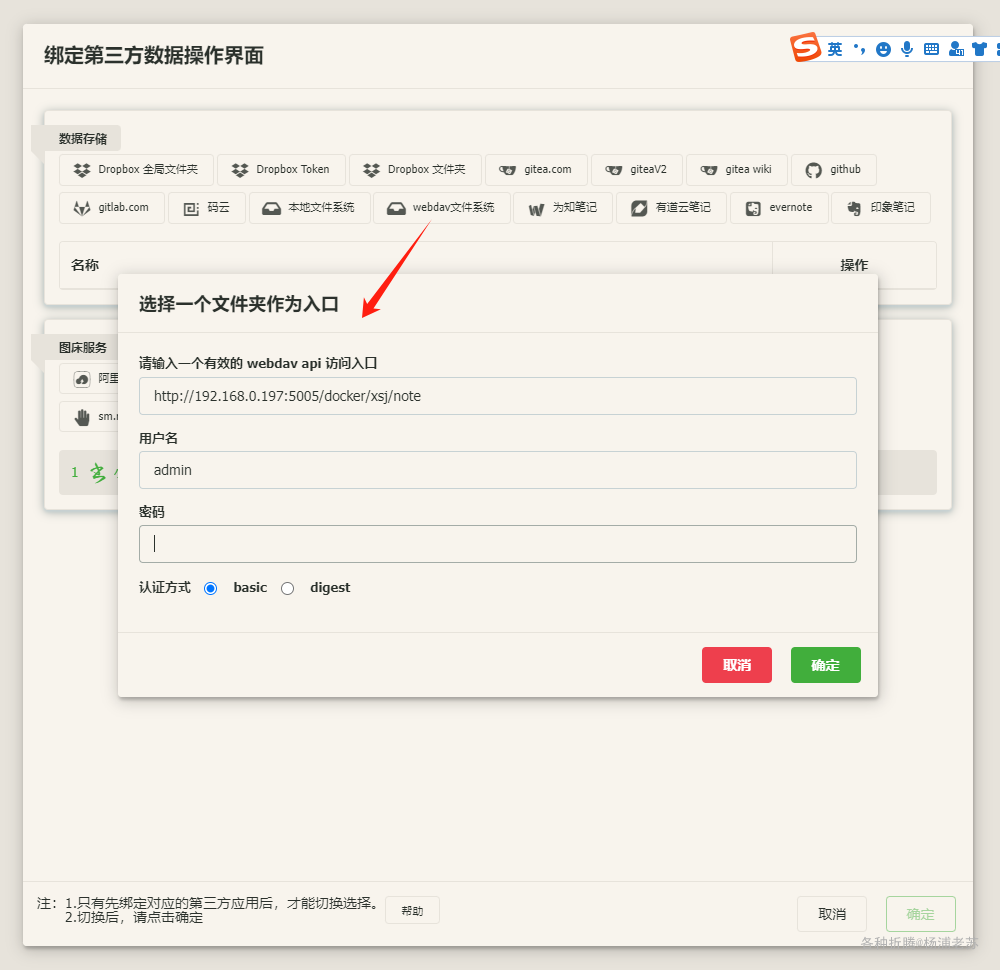
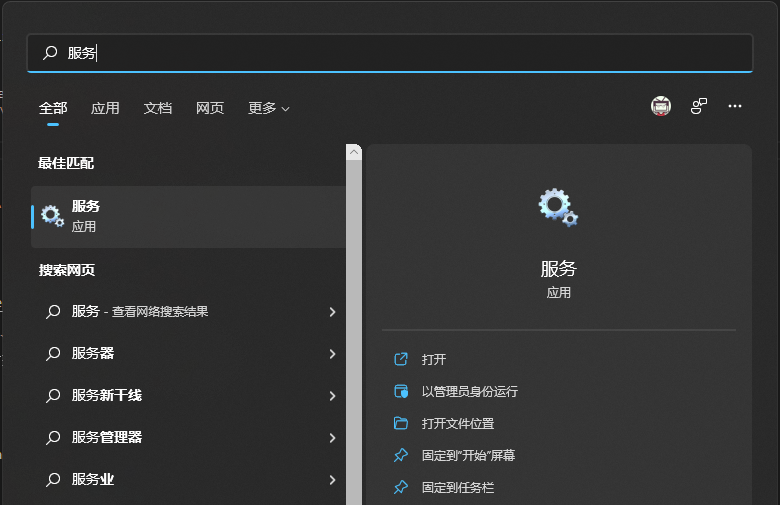
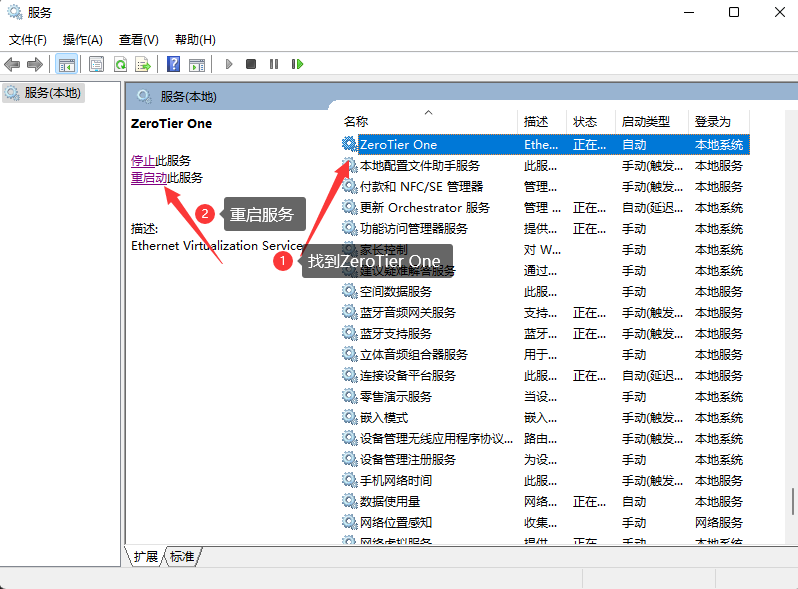
同样需要启动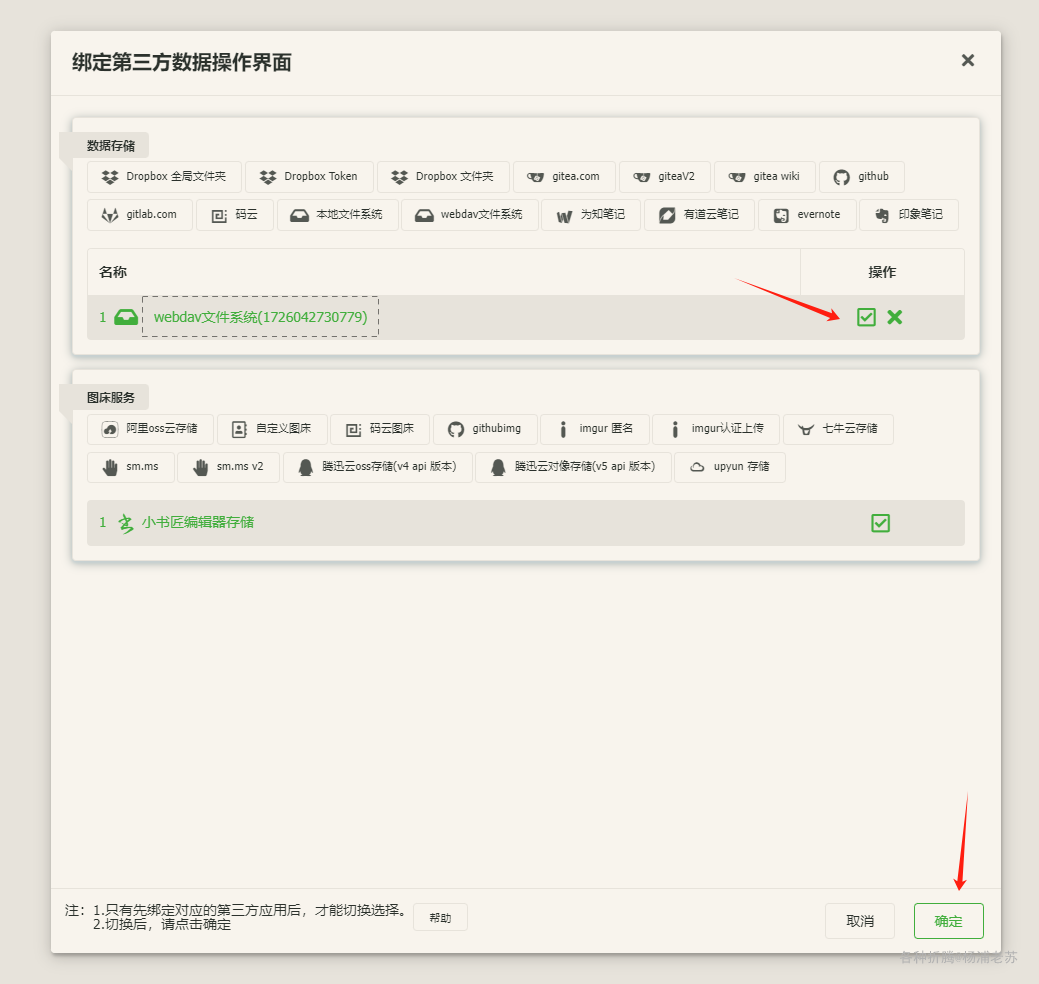
能直接找到文档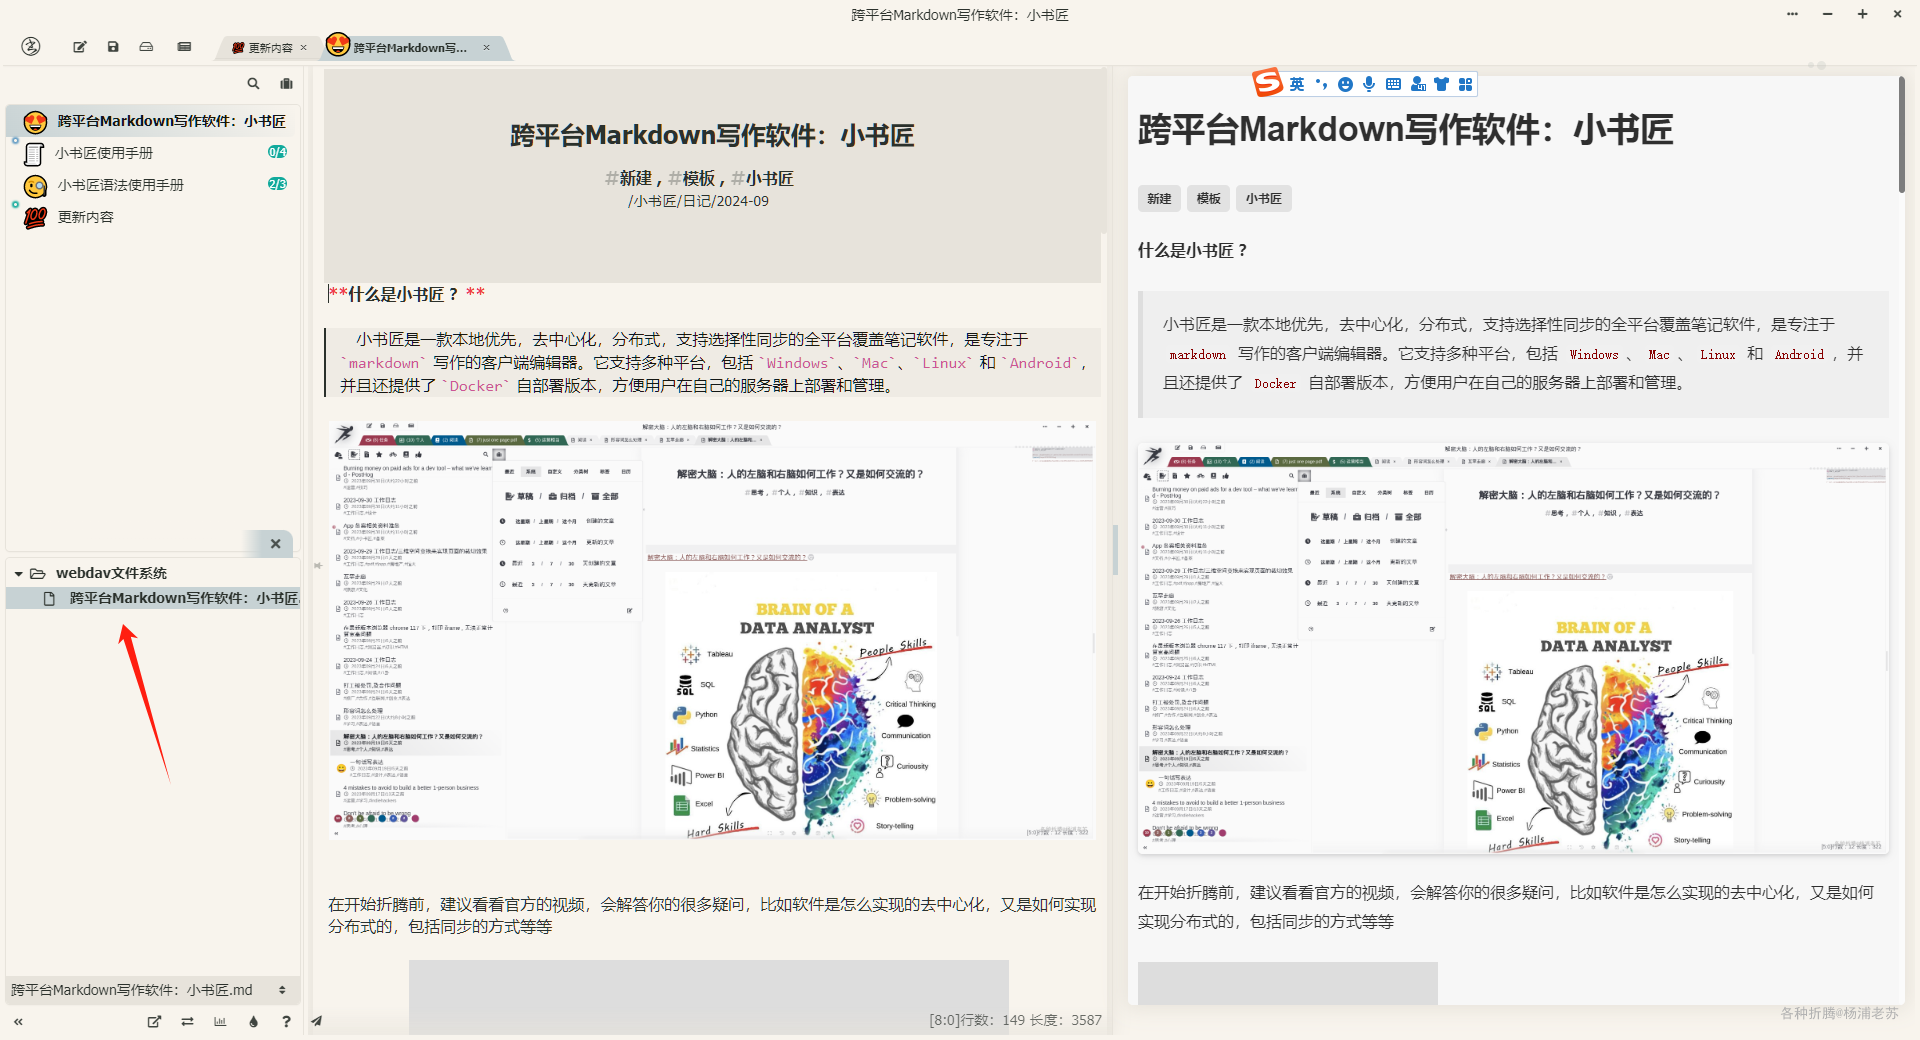
但是这种模式应该是不能同时编辑的,会存在冲突
遇到不会的功能,可以去看官方的教程
- 文字版:https://soft.xiaoshujiang.com/docs/tutorial/store/
- 视频版:https://space.bilibili.com/349933393
参考文档
suziwen/markdownxiaoshujiang: 小书匠是一款本地优先,去中心化,分布式,支持选择性同步的全平台覆盖知识管理笔记软件。
地址:https://github.com/suziwen/markdownxiaoshujiang小书匠
地址:https://soft.xiaoshujiang.com/suziwen/dragon - Docker Image | Docker Hub
地址:https://hub.docker.com/r/suziwen/dragonsuziwen/pegasus - Docker Image | Docker Hub
地址:https://hub.docker.com/r/suziwen/pegasusszw_2018的个人空间-szw_2018个人主页-哔哩哔哩视频
地址:https://space.bilibili.com/349933393用时间流方式改进知识管理,小书匠萤火虫模式使用说明 | 小书匠
地址:https://soft.xiaoshujiang.com/blog/file_manager/timeline_firefly/